
Viga tails are one of the most recognizable features of Southwestern architecture. Rooted in centuries-old building traditions, these rounded beam ends extend from exterior walls, adding depth, rhythm, and unmistakable character to homes throughout New Mexico, Arizona, Colorado, and beyond. Their architectural charm is undeniable—but so is the wear and tear that comes with constant exposure to the elements.
Authentic wood viga tails face continuous stress from sun exposure, fluctuating temperatures, moisture, and pests. Over time, that exposure can lead to cracking, splitting, fading, and even rot. What begins as a beautiful design feature can transform into an ongoing maintenance project, costing you time, money, and curb appeal.
A Few Reasons to Choose Faux Viga Tail Replacements
- Preserves authentic Southwestern architectural character
- Realistic wood grain molded from real timber textures
- Resists rot, moisture damage, cracking, and fading
- Lightweight construction simplifies installation
- Low-maintenance, long-term alternative to real wood
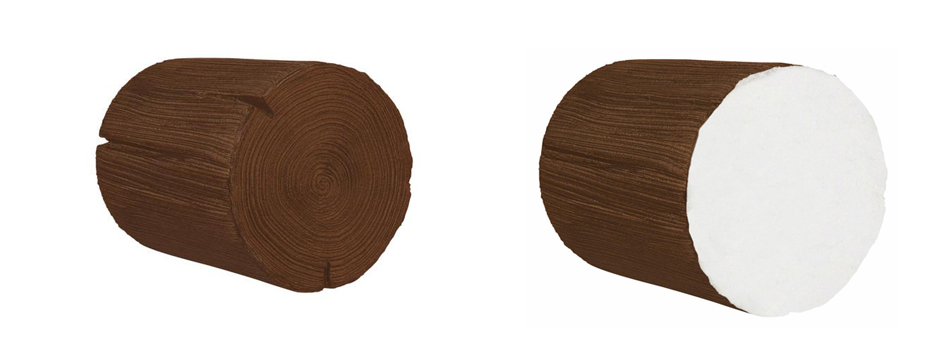
Replacing worn wood viga tails with faux alternatives allows you to preserve an authentic Southwestern aesthetic—without the constant upkeep. You maintain the architectural character of exposed beam ends while eliminating the vulnerabilities of natural wood. Expertly molded from real wood textures, faux wood viga tails capture the natural grain patterns and depth of traditional beams while offering enhanced durability. They are engineered to resist cracking, chipping, fading, and moisture damage, giving you long-lasting performance with minimal maintenance.
Crafted from high-density polyurethane and built specifically for exterior applications, faux viga tails will not rot, absorb moisture, or deteriorate the way traditional wood can over time. This makes them a practical choice for climates ranging from dry desert heat to regions with seasonal rain and temperature swings.
And unlike solid wood beams, faux viga tails are lightweight and easy to handle, which simplifies installation and reduces labor demands.
Whether you’re a confident DIY homeowner or working with a contractor, replacing damaged wood viga tails with faux versions is a straightforward upgrade that can dramatically refresh your home’s exterior. The result is a long-lasting architectural enhancement that protects your investment while preserving timeless Southwestern design.
Removing Old Wood Viga Tails From a Surface
Before installing your new faux solid wood viga tails, you’ll need to properly remove the existing damaged wood pieces. Taking the time to remove them carefully and prepare the surface ensures a clean installation and long-lasting results.
Important Note: Wear safety goggles and gloves throughout the entire installation.
To remove a damaged viga tail, use a hand saw to cut it off flush with the exterior wall surface.
After removal, inspect the exposed mounting area. The surface should be structurally sound, stable, and free of cracks, loose material, or voids. If you notice damage, repair or reinforce the area before proceeding. A clean, solid substrate is essential for proper adhesion and secure fastening.
How to Install Faux Wood Viga Tails
Faux wood viga tails are designed for straightforward installation, whether you're a DIY homeowner or a professional contractor. Follow the threaded rod step-by-step installation instructions below for best results.
Threaded Rod Viga Tail Installation Method
By integrating a threaded rod into the wall structure, the viga tail gains enhanced stability while maintaining its purely decorative function.
To install solid faux wood viga tails using the threaded rod method, gather the following tools and materials:
- Caulk gun
- Caulk
- Loctite PL Premium 3X Construction Adhesive
- Carpenter square or level
- Screw gun/drill driver and drill bits
- Pencil
- Deck screws
- Tape Measure
- Safety glasses
- Tape Measure
- Threaded rod(s)
- Spade bit
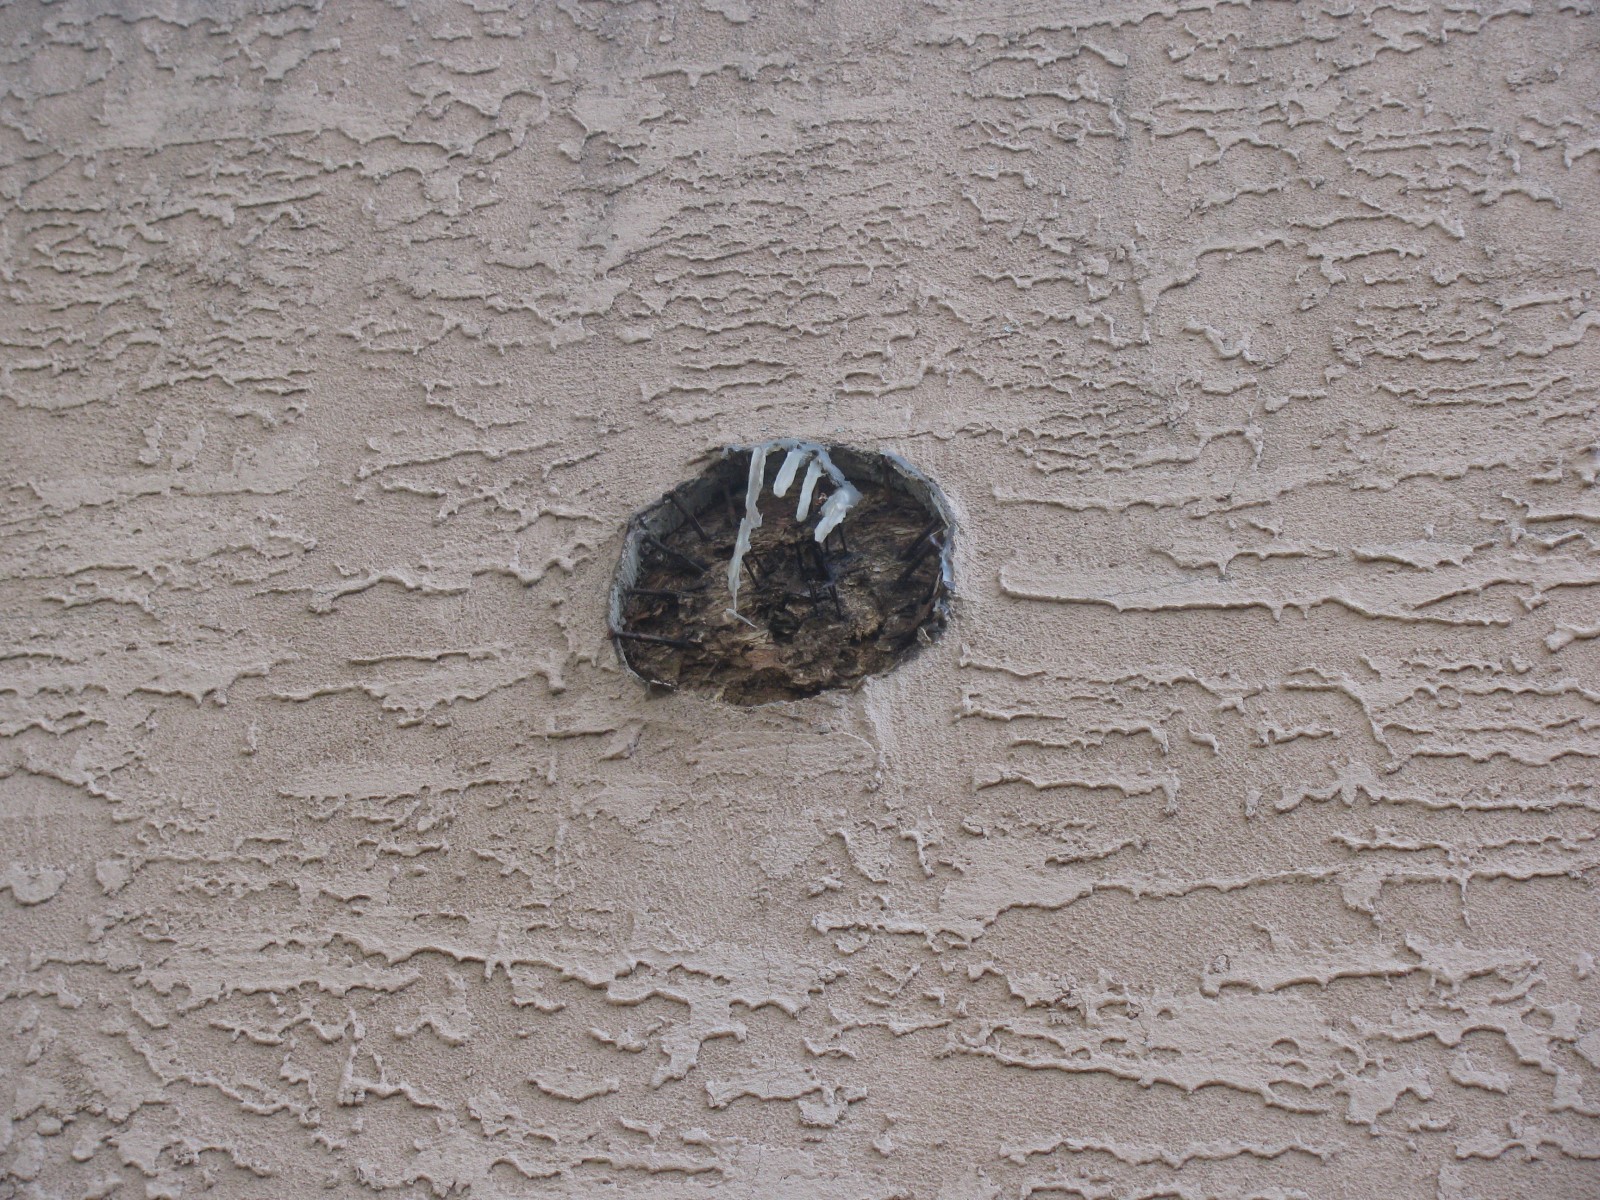
STEP 1: Install the Threaded Rod
Secure a threaded rod into the wall at the desired mounting location, making sure it is installed at a precise 90-degree angle. The rod should extend from the wall, but its projection must be at least 1” shorter than the total projection of the viga tail.
Record the exact length of the rod’s exposed projection—you will reference this measurement when drilling the viga.
For proper support, anchor the threaded rod into solid backing material rather than surface stucco alone.
STEP 2: Drill a Hole in the Replacement Viga Tail
Locate the center point on the unfinished end of the viga tail. Drill a hole that matches the length of the threaded rod and is 1/8” smaller in diameter than the rod itself to ensure a tight fit.
If needed, begin with a smaller pilot hole to help guide the larger bit.
Maintain a strict 90-degree drilling angle, and take care not to penetrate the finished face of the viga tail. Once drilled, dry-fit the viga onto the rod to confirm alignment and depth.
STEP 3: Install the Replacement Viga Tail
Apply construction adhesive to the unfinished end of the viga tail, then carefully slide it onto the threaded rod.
Gently rotate the viga during installation to create full contact between the mounting surface and the wall.
Secure the viga by toe-screwing it into the stucco using exterior-grade deck screws.
Upgrade Your Home with Long-Lasting Faux Wood Viga Tails

Replacing worn wood viga tails with faux alternatives is a simple way to protect your home’s architectural character while eliminating ongoing maintenance. With realistic wood textures and durable, moisture-resistant construction, faux viga tails deliver the look of traditional beams without the risk of rot, cracking, or fading.
Choose the installation method that fits your project, and enjoy a long-lasting exterior upgrade that keeps your Southwestern design intact.
Shop Related Products


