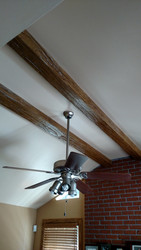
The beams available from Barron Designs come in a variety of realistic colors - but it's not difficult to customize their hue, as these customer pictures demonstrate.
One of the challenges of adding faux beams to your home is making sure that they match or complement the other wood finishes in your decor. That could be your furniture, or more permanent wooden fixtures like skirting boards, or window and door edgings. Getting the wood tones to harmonize is one of the keys to making your beams look like a natural and realistic addition.
Our attempt to make that as simple as possible is by offering beams in a variety of realistic wood tones like Cherry, Light Oak and Rich Walnut. For the most part, these blend very nicely with existing wooden features, and ensure that your installed beams look like they've always been there.
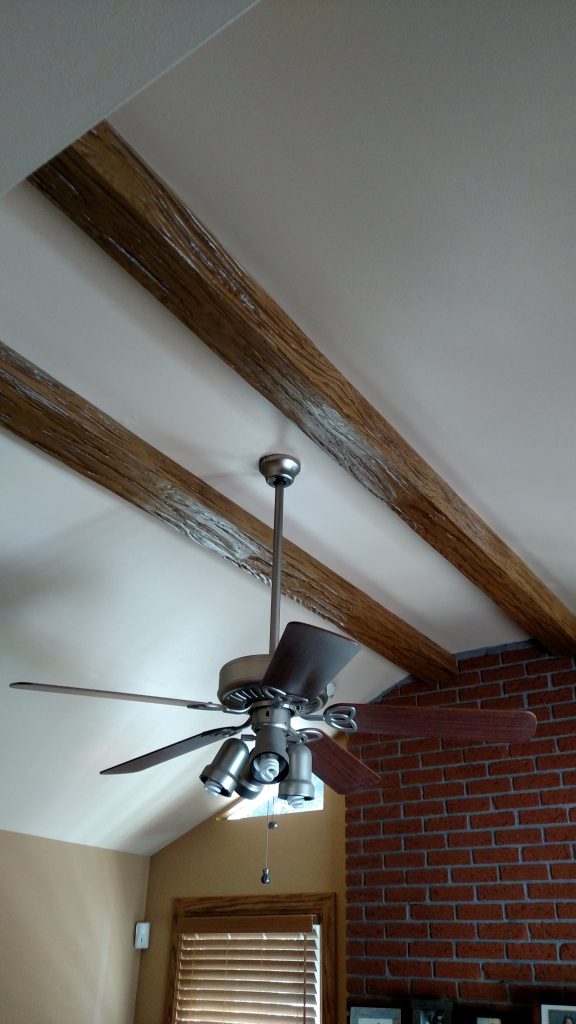 Kevin customized the stain of his new beams to better match the room's other wood finishes.
However, some homeowners want to take that color-matching to the next level - and that's where the ability to customize the color of our beams becomes an advantage.
A great example of this comes from Kevin, who recently ordered Heritage Beams and a matching Mantel in the Light Oak color.
While he loved the vivid realism of our molded beams, and the installation promised to be straightforward, he wasn't completely satisfied with the Light Oak color - which is incredibly realistic, but didn't quite match the weathered darkness of the other oak features in his home.
To remedy that, Kevin decided to stain them a slightly darker color - and as you can see from the pictures, the results looked fantastic.
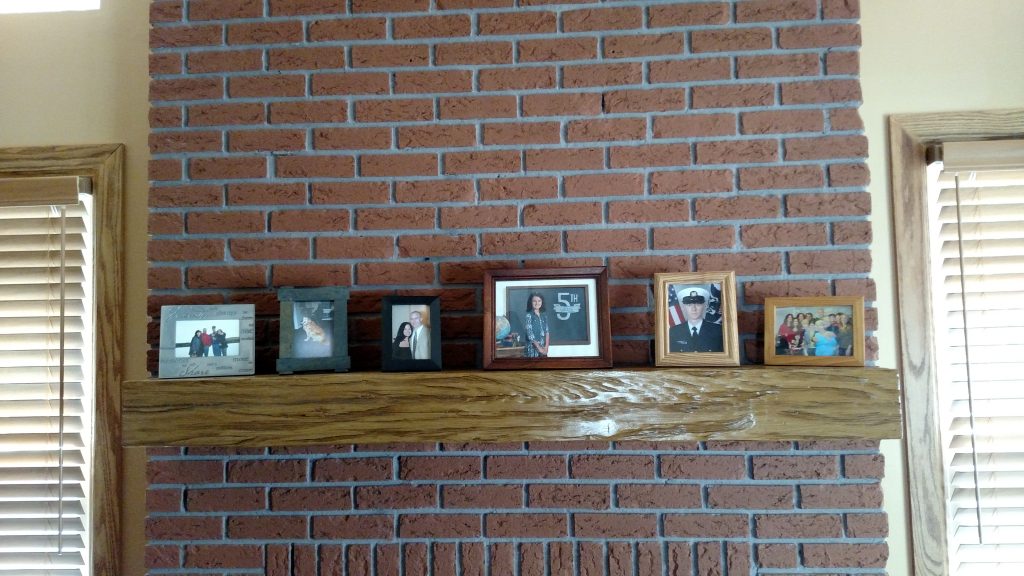 By using a 'washing' technique, Kevin also made sure his new mantel also matched.
The specific technique Kevin used is something called 'washing'. With washing, you take a very watery mix of a darker stain, and 'wash' the beam with it. Because of the more-liquid nature of the stain, it lightly darkens the entire beam surface and naturally pools to emphasize the wood grain texture. As you can see from the pictures, this technique really makes the texture stand out, and makes the beams appear even older and more stately than they did before.
Kevin used this technique on the two ceiling beams, and the matching mantel, and the end result looks fantastic. We couldn't be more thrilled about how they turned out, and are excited to share these pictures with you, so you can see how simple and straightforward customizing the color of your beams can be.
What do you think of Kevin's installation? Like the look? Leave a comment below and let us know. And if you've tried customizing the color of your beams, be sure to share the end results with us. We'd love to see them!
Shop Related Products