
Many customers are extremely satisfied with how easy it is to install our porch columns. Using just some simple tools, they are able to get them up in no time at all. Below, we’ll show you how to install a faux stacked stone column wrap over an existing support post.
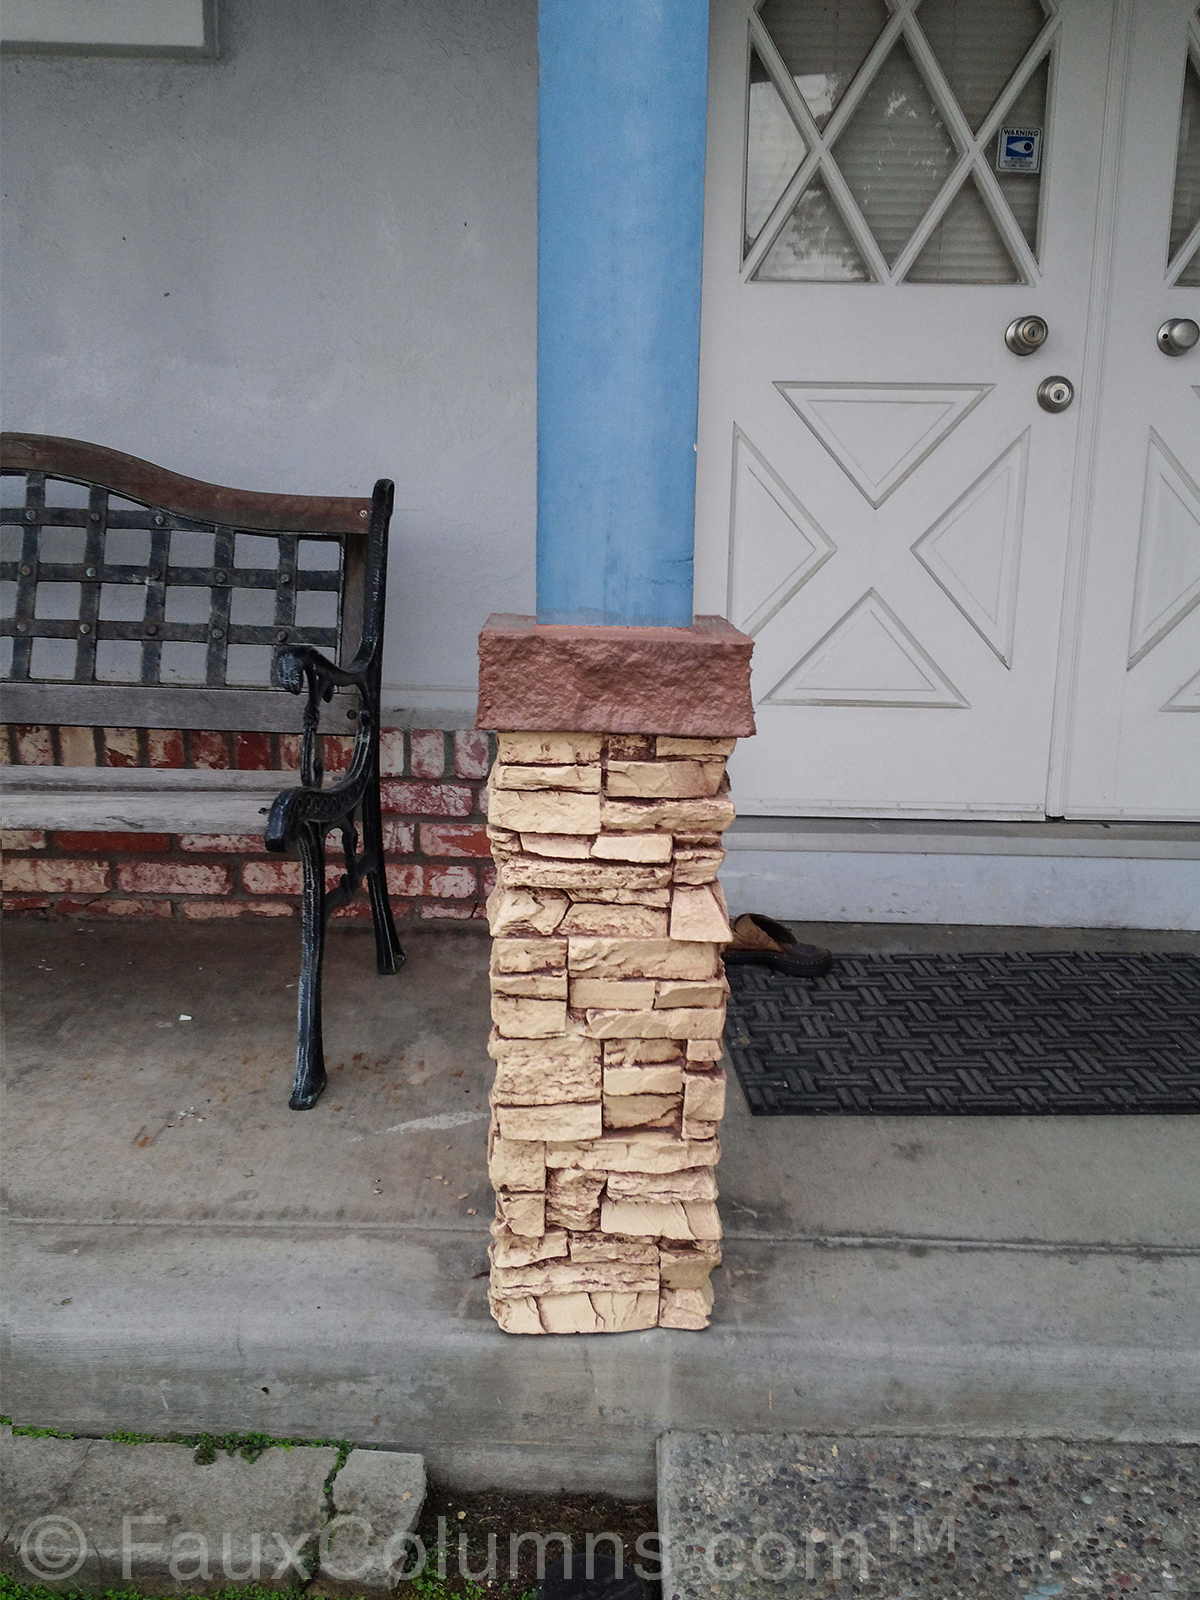 Installing a faux stacked stone column wrap over an existing support post is easy.
Before we begin, here is the list of simple tools you’ll need:
- Exterior Grade Screws — use screws that are long enough to go through the column. We recommend a narrow head screw (such as a #1 Roberson head trim head screw) to make touchup easier and less noticeable.
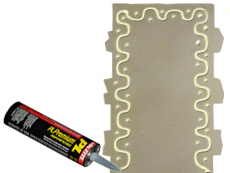
- Construction Adhesive — we recommend Loctite PL® Premium 3x Construction Adhesive.
- A saw for cutting columns – a circular saw, jig saw, band saw, table saw, or hand saw, it is your preference. Any woodcutting blade used with these saws work great and cut smooth and easy.
- Tape Measure
- Level
- Caulk gun for applying the adhesive and caulk.
- Color coordinated textured caulk.
- 2" x 4" lumber as needed
- Exterior grade plywood as needed
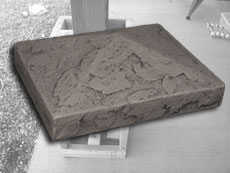
- Column Cap (optional)
Installation Instructions:
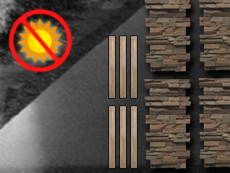
- Be sure that the columns, the column cap and posts are clean and dry before you begin. Approximately 24 hours before the installation, expose the post, the column wrap, the lumber and the plywood to the same general humidity and temperature as where they will be installed but away from direct sunlight or other heat sources.
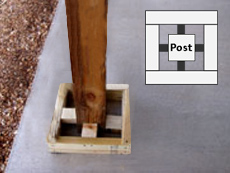
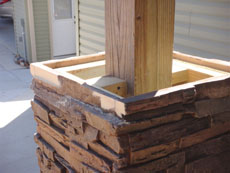
- To get a secure and sturdy base for the column wraps, you’ll want to construct a sub frame. Make sure that this sub frame, along with the plywood, fits within the wrap’s dimensions. To maintain a steady, upright connection to the existing wood post, this frame needs to be securely centered on the support post.
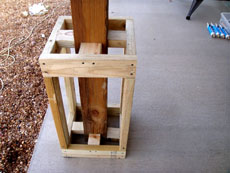
- Next, cut the plywood fit the wood sub frame. Screw the plywood to the subrame. This will serve as the surface that you’ll attach the column wraps to. For proper sizing, make sure to dry fit the wraps to the structure.
Hint: leave a little extra room for the thickness that will be added by the glue that’s between the plywood and the column wraps.
- On the back of one of the wrap panels, apply small beads of adhesive along the perimeter, about one inch from the edge. Then, in a zigzagging pattern, apply a little more adhesive to the back of the panel. Make sure the beads of adhesive are no more than 4 inches apart. Add a little bit of glue inside the fingers of the panel, which interlock. Then apply a little bit of the textured caulk along the edges of the interlocking fingers, to seal the seam where they’ll join with the next section of the column wrap.
- Apply the column wrap to your exterior grade plywood. Gently press and twist the wrap panel onto the plywood, to ensure secure contact with the adhesive. The adhesive will help to keep the wrap panels in place on the plywood, giving you some time to get the other ones up.
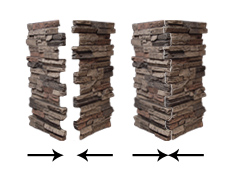
- Repeat step 4 and 5 for every other section of the wrap. Be sure that the fingers securely interlock.
- Make sure the interlocking fingers of the panels all fit together securely, and that the column wraps are level. Begin to fasten the wraps to the plywood with screws, spacing them approximately a foot apart. It is best if screws are slightly recessed below the surface of the panels. Make sure not to over-tighten the screws. Tip: Conceal screws in crevices, beneath protruding rocks, or in grout lines to help give the column panels a cleaner, more realistic look.
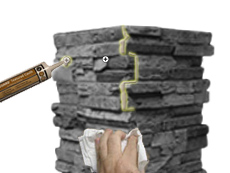
- Before the caulk dries, use a damp cloth to wipe off any excess caulk that might have been pushed out between the two wrap panels. You can also use the textured caulk to hide the screw heads.

- If you are stacking columns, you can now start the next row up. Repeat steps 4-8 for the next row of column wraps to be installed.
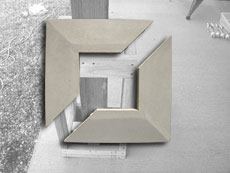
- Column caps are available in both one and two-piece styles. The one-piece size can be used to complete your column as sold or can be cut in half and trimmed to accommodate posts of varying sizes. A two-piece column cap is als oavailable for some columns. This cap comes as two diagonal halves, which are split through the center, to help hide the seam. The cut outs allow them to be placed around existing 4 or 6 inch support posts. Depending on the post size, additional cutting, shimming and caulking may be required.
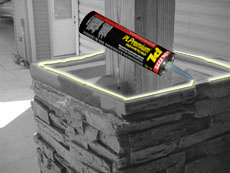
- To secure the column cap, apply adhesive to the top sections of the column wraps and to the wood sub frame. Set the cap in place, pressing down firmly. If using the two piece cap, glue the two halves together around the existing post. Complete cap installation by toe-screwing through the sub-frame and under the cap.

- Lastly, using the paint from the touch-up kit, paint the wraps, screw heads, and textured caulk as needed. In this project shown, additional wood was added to the structural support post to create a dramatic tapered look.
When installing your columns, be sure to follow and obey all safety rules and recommendations set forth by tool manufacturers including the use of safety glasses. Always follow any, and all, local, state, and federal building codes.
Always comply with any specified clearances set forth by the manufactures of stoves, fireplaces, furnaces, and any other heat sources, as well.
Shop Related Products


