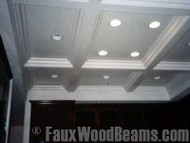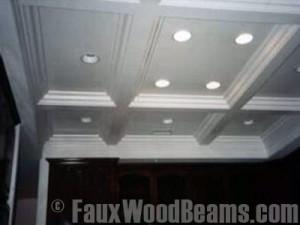
 To wrap up our series of tips on coffered ceilings (see part 1 and part 2), let's consider the elegant look of smoother-surface beams such as our Woodland Faux Wood Beams and Resawn Faux Wood Beams. When you use these pre-primed beams for a coffered ceiling, you're looking for flawless joints that don't show under the final coat of paint.
Here's how you do it.
1. Follow the steps in part 1 for installing the beams using double-mitered joints. As you do -- no matter how careful you are -- you'll find that not all your joints are perfect. Some joints will have small cracks. Some will be uneven, with one beam a little lower or higher than the others. These imperfections don't show with rough, distressed beams, but they do with smooth beams.
2. Fill those inevitable cracks and irregularities with auto body filler. Apply it with a flexible putty knife, making each joint as smooth as you can. Then carefully sand the filler so each joint is silky smooth. Be careful not to sand down the surfaces of the beams themselves.
3. Prime the filled areas with the primer recommended by the manufacturer of your finish paint.
4. Apply the finish paint to all the beams.
5. Admire.
6. (Optional) Show off.
Shop Related Products


