One thing you’ll have heard about our fake wood beams is that they’re easy to install. But don’t just take our word for it! Check out these awesome photos the Reisinger family sent in of their own DIY home improvement project. Mom, Dad and Son teamed up to install three faux wood timber beams in just a single weekend.
Customers Show us How They Install fake Wood Timber Beams
They were kind enough to send in pictures from every stage of the installation.
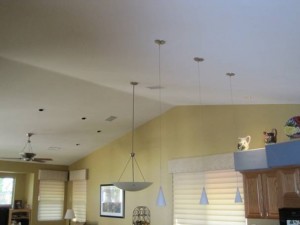
First, here’s the ceiling of their beautiful family room. You can see why they decided wooden timber beams would be a nice addition – their cabinets and counter tops beautifully frame the room itself, but leave the ceiling looking sparse and bare.
Steve Reisinger kicked off the installation by following the old carpenter’s lore – measure twice, cut once. Once measurements were in hand, he and his wife clambered up a ladder to install square wooden mounting blocks in the ceiling with screws.
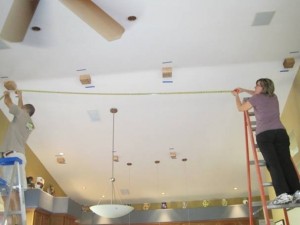 Measure twice, cut once - the Reisingers followed the carpenter's rule when prepping to install their fake wood beams
One of the many advantages of using fake wood over the real thing is that Steve didn’t need to cut the beam to match the V-shaped apex of his ceiling. Because our faux wood beams are molded in a hollow U-shape, they can fit over the wooden mounting blocks Steve attached to the ceiling and both sides fitted flush to the ceiling. The only cutting Steve needed to do is to make sure the length is right – that’s easy enough with a regular wood saw.
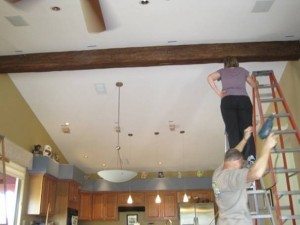 The center beam slotted neatly over the pre-installed mounting blocks for a flush fit against both roof angles
Next came installing the beams. A real timber beam would weigh in close to 100lbs. Our faux timber beams are just 40lbs, which meant that Steve and his wife could easily maneuver them into place themselves. The light weight also means installing them is simple and straightforward – you can see from this picture Steve attached them to his mounting blocks with an electric drill and regular trim-head screws.
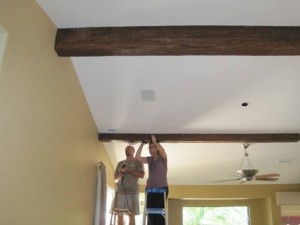 Steve and his wife installed the faux timber beams using an electric drill and trim head screws
Our faux wood beams measure in at 9’ 10” in length – which presented Steve and family with one of their first challenges: The length of their family room was almost double that.
Here’s where another of the advantages of faux beams paid off: Steve was able to ‘double up’ two lengths of beam to give the appearance of a single, seamless beam stretching across the length of the room. Although practically indistinguishable from the real timber they’re molded from, fake wood beams are always consistent in width and color, so it’s easy to attach two end-to-end to reach further than a single beam would allow.
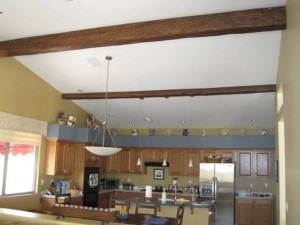 Doubling up the faux wood beams gave the illusion of single, seamless length of timber
You can see on the furthest beam how Steve managed to complete the illusion of a single beam – by adding one of our Universal Flexible Straps to cover the seam between the two lengths of faux wood. Molded from flexible rubber, these straps perfectly mimic the iron bands traditionally used to reinforce timber beams.
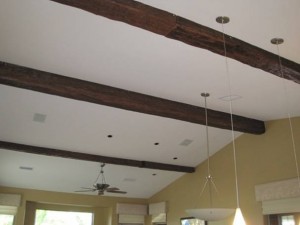 Rubber mounting straps covered the join between the two lengths of faux wood beam
And job done! With three people and in just a few hours, Steve and his family managed to transform their family room ceiling.
“It’s an awesome look!” Steve told us when he sent in pictures – and he’s already planning the next family project: “The formal living room is next!”
Shop Related Products