
For the ultimate customized look, many customers choose to stain their faux wood beams themselves, matching them with other wood fixtures in the room.
Our beams are available in a wide variety of different colors - each perfectly hued to resemble a real type of wood. From light and airy Early American to rich and classic Dark Walnut, you can mix and match the style of beam you want with the color you need, to make sure you get the perfect look for your design.
But sometimes perfect still isn't good enough - and that's why we also offer most of our products Unfinished for a little DIY staining.
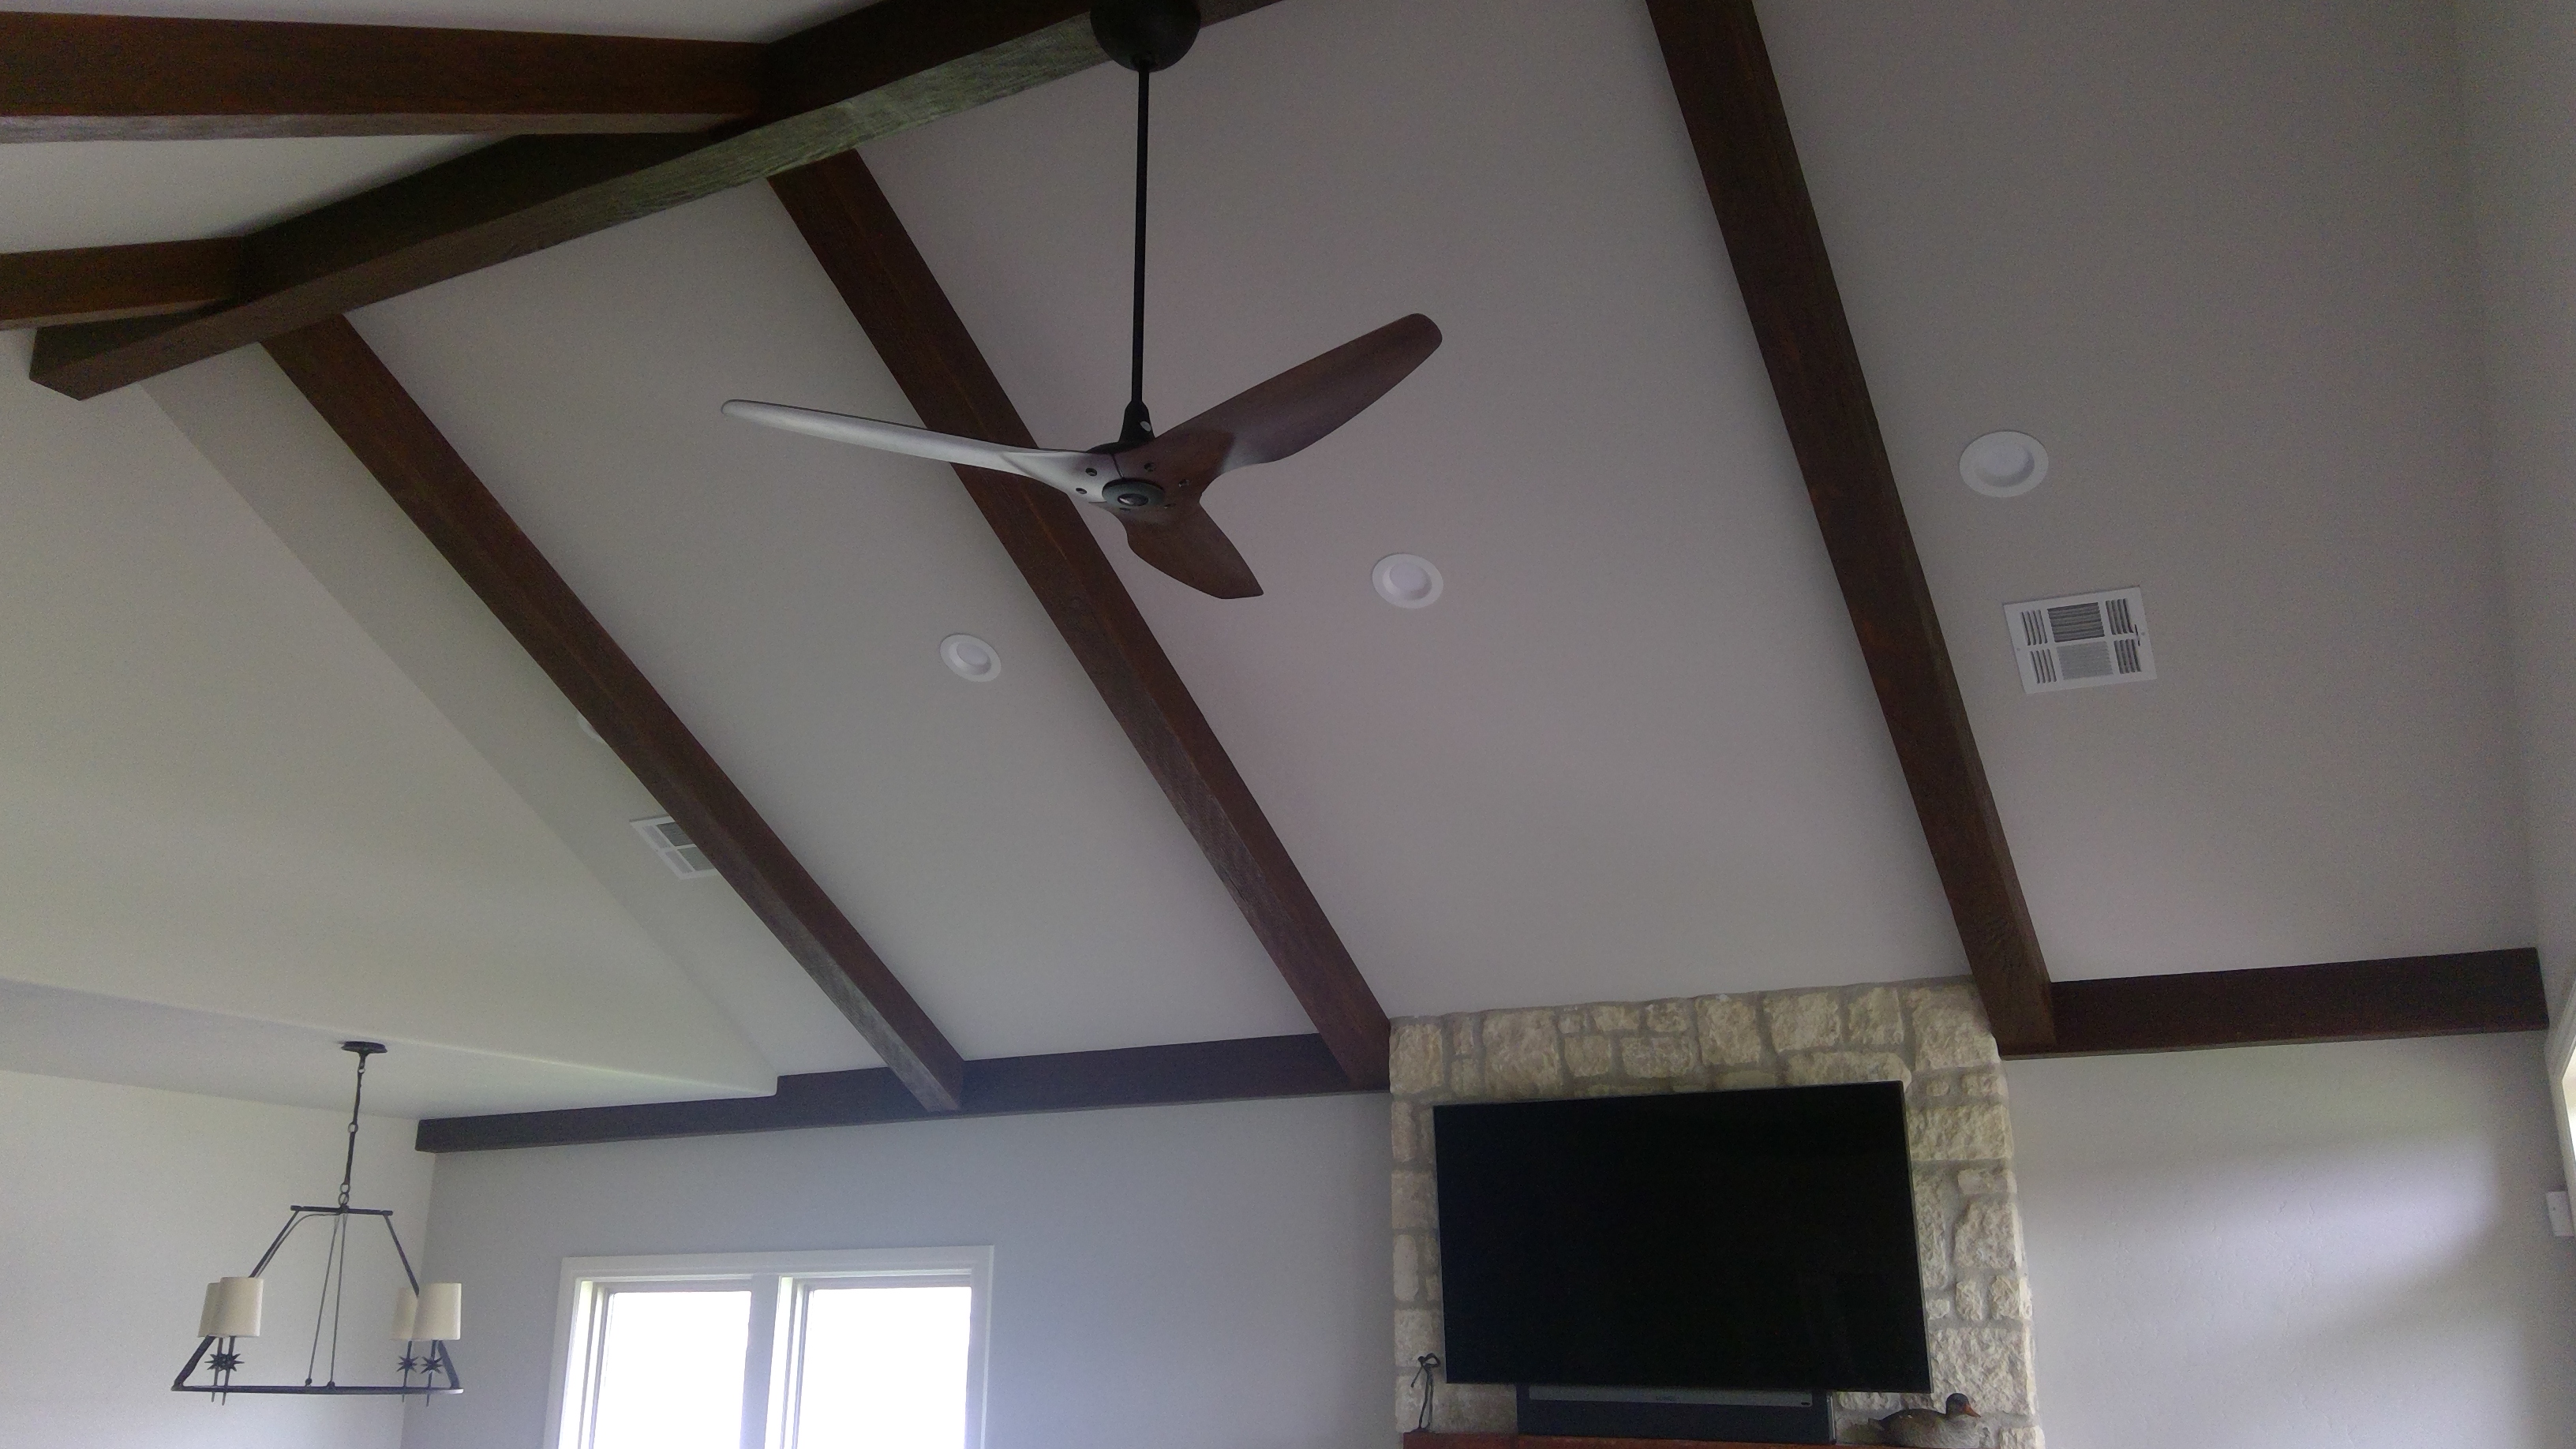 These ceiling beams were custom stained to match the other wood fixtures in the room.
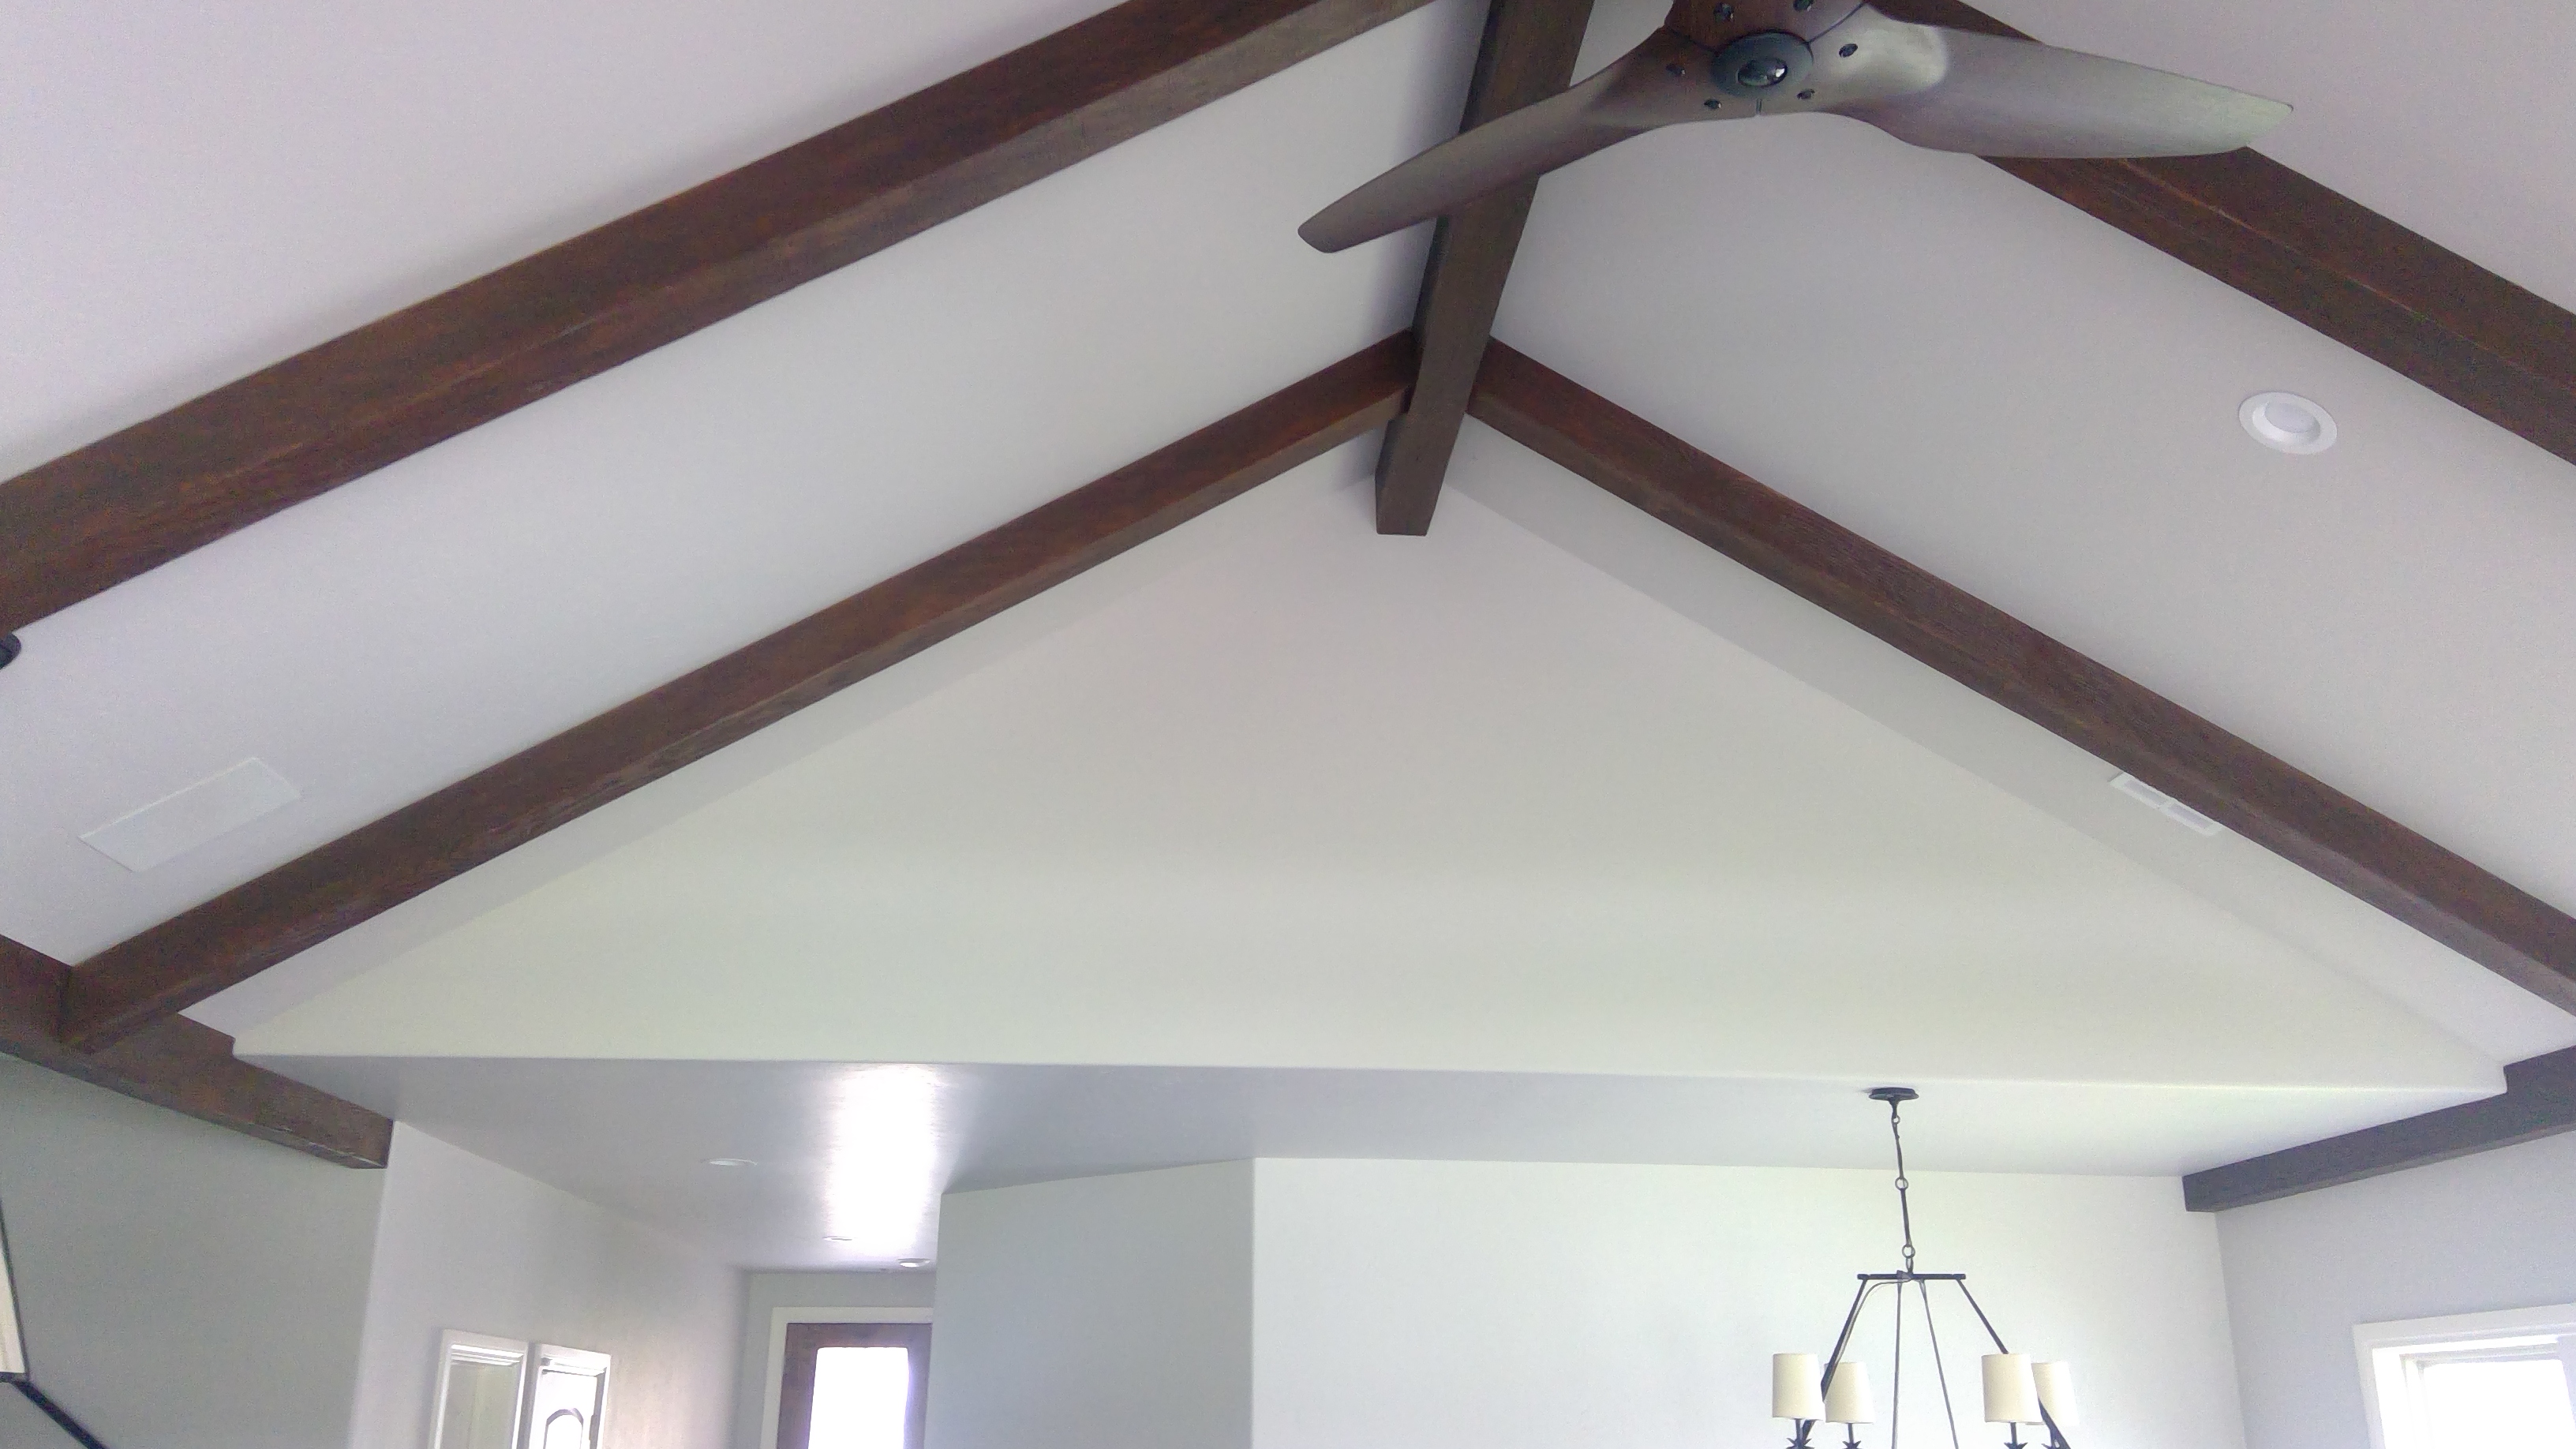
We recently received these project photos that demonstrate just how awesome a self-stained beam ensemble can look - and thought it would be a good opportunity to discuss how to make sure your beams all match perfectly when you color them yourself.
We've written extensively about how to stain Unfinished beams yourself, and we don't want to repeat ourselves - but this project included some challenges that we haven't written about before; primarily how to make sure your stained beams all match, and the color you administer is consistent.
It's a big issue - as there's nothing that ruins the illusion of faux wood more thoroughly than a color mismatch. The secret is to make sure the wood looks like it all came from the same source - and that's actually one advantage our pre-colored beams have over real wood. It's actually very difficult to find a significant number of real timber beams that match perfectly, so 'going faux' can often provide a realistic look that would be more difficult to achieve naturally.
 With so many beams installed, it was imperative that the color of each beam was consistent.
When you stain the beam yourself, you lose that convenience - but sometimes a custom color is all that will do.
In this example project, the homeowners chose to stain the beams themselves to match the other wooden features in the house. None of our pre-stained beams were close enough - but the good news was that because the homeowners had stained the other wooden features themselves, they knew exactly where to start. They purchased the same color wood stain they'd used in the rest of the house and finished the beams in that. The biggest challenge with that was to make sure the beams were primed with the correct color - the difference between a white primer and a tan primer can make a big difference to the final color of your stained beam.
With that challenge overcome, staining the beams themselves was fairly straightforward. By choosing to use a straight-from-the-can color, it was easy to make sure the color of each of the beams matched - but it's important to make sure you keep the coverage consistent. If you administer the stain too heavily on one beam, and too lightly on another, the beams won't match - so being aware of that and using a consistent method to apply the stain is very important.
It's also a good idea to try and stain all the beams at the same time, as things like humidity, temperature and drying-time can also have an impact on the final color. Thanks to modern stains, this has become less of an issue - but in addition to ensuring all the beams match, it's often more convenient to create an 'assembly line' and knock out all the staining in one session, rather than doing it piecemeal.
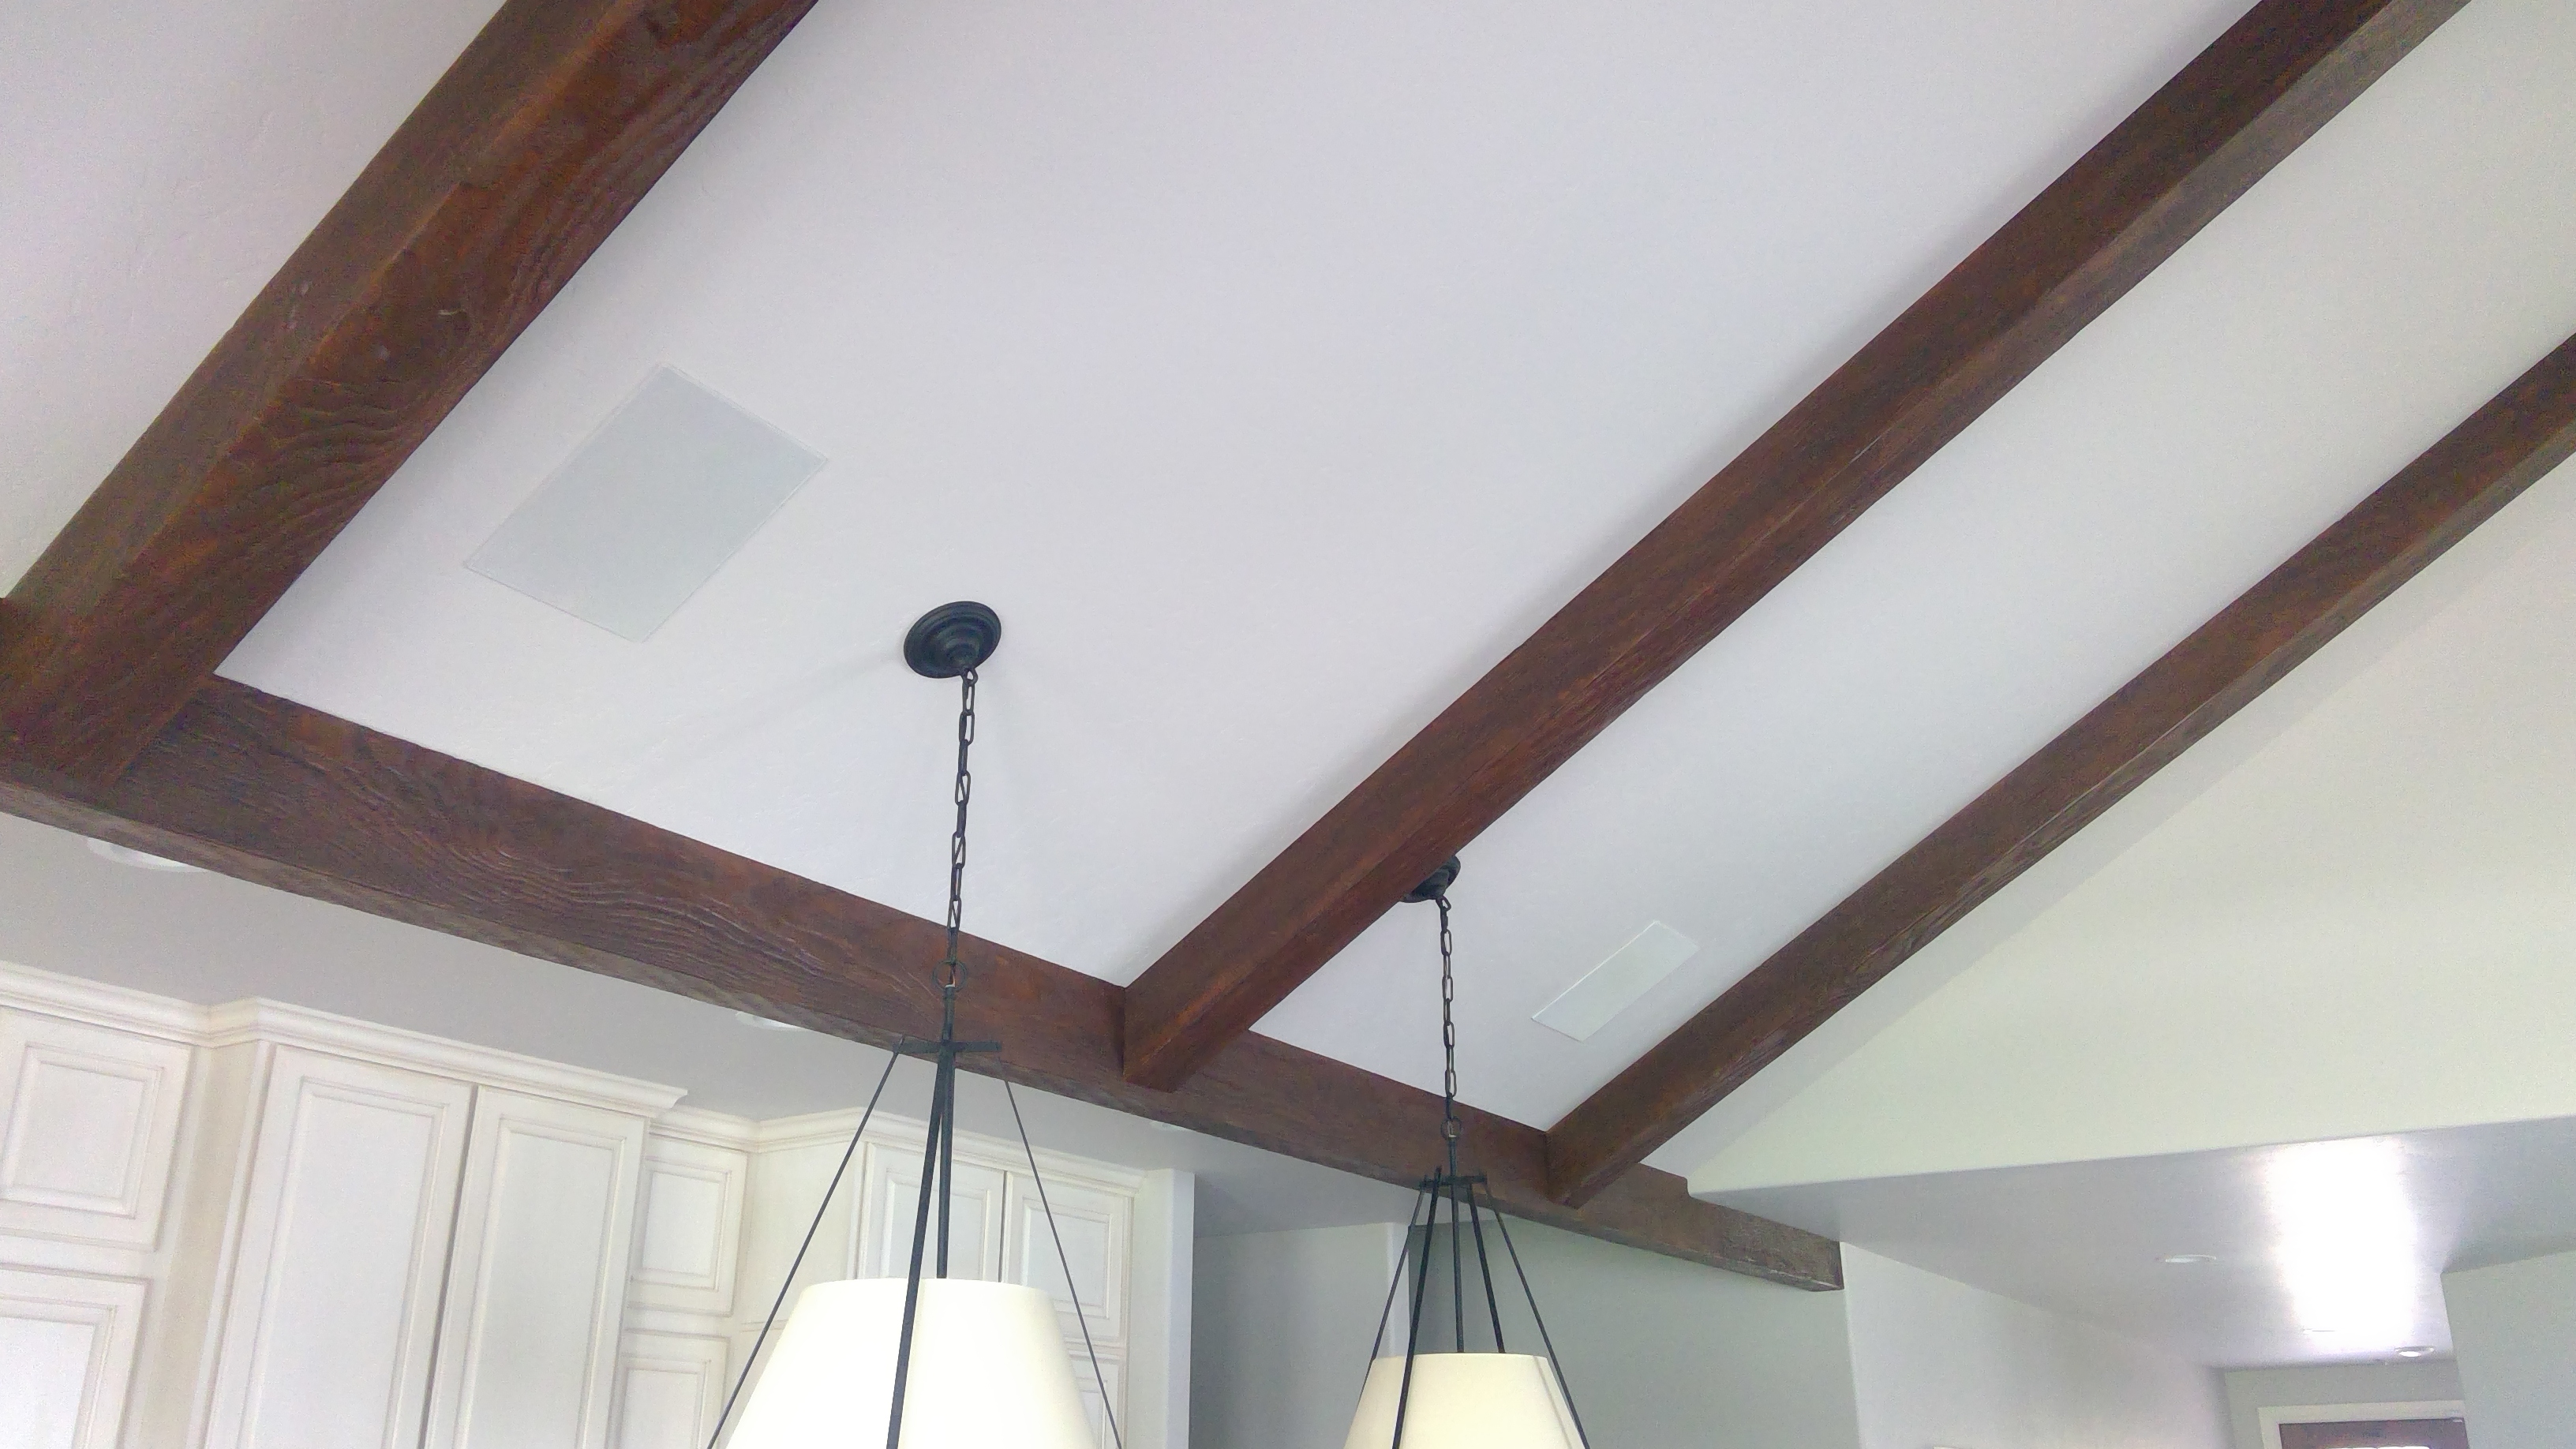
 While it's not as convenient as installing pre-colored beams, DIY-staining results in a truly unique, customized end result.
The entire process isn't particularly difficult, but when you have many beams involved like in this project, you can see that it pays to take a little extra time to do things right and make sure the end result matches your vision. The pictures we're sharing today show how great a faux beam project can look when you match all the beams perfectly - beautiful and wholly realistic.
Shop Related Products


