
FauxWoodBeams.com customer Ryan kindly sent in these photos of his master bedroom makeover, demonstrating step-by-step how he installed our Driftwood Beams in Burnt Mocha.
While we love getting pictures of the amazing designs customers create with our products, we're always especially excited to share the step-by-step project pictures - which show exactly what went on behind-the-scenes.
 Bedroom makeover complete
As you can see from the BEFORE picture, the bedroom already had good bones with a tall vaulted ceiling, large windows and an old-fashioned Ben Franklin-style stove, which was no doubt perfect for keeping the room snug at night.
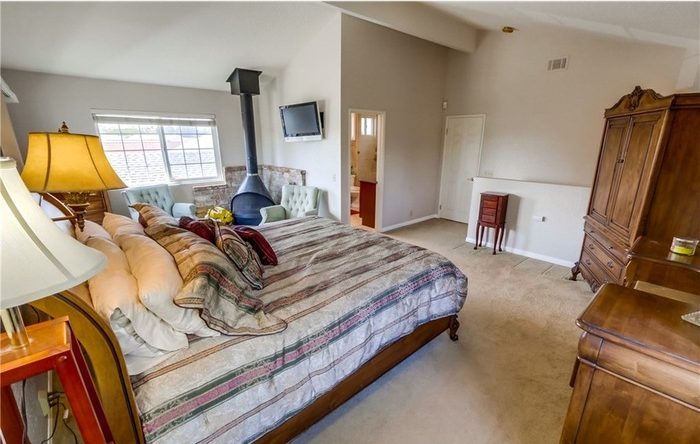 BEFORE: While the room was nice, you can see that the stove would have been missed... ...unless it was replaced by another fixture like our beams.
However, Ryan planned to remove the stove -- a decision that took away some of the room's appeal. That's why he decided to look into wood ceiling beams to replace the character and classic style the stove had offered.
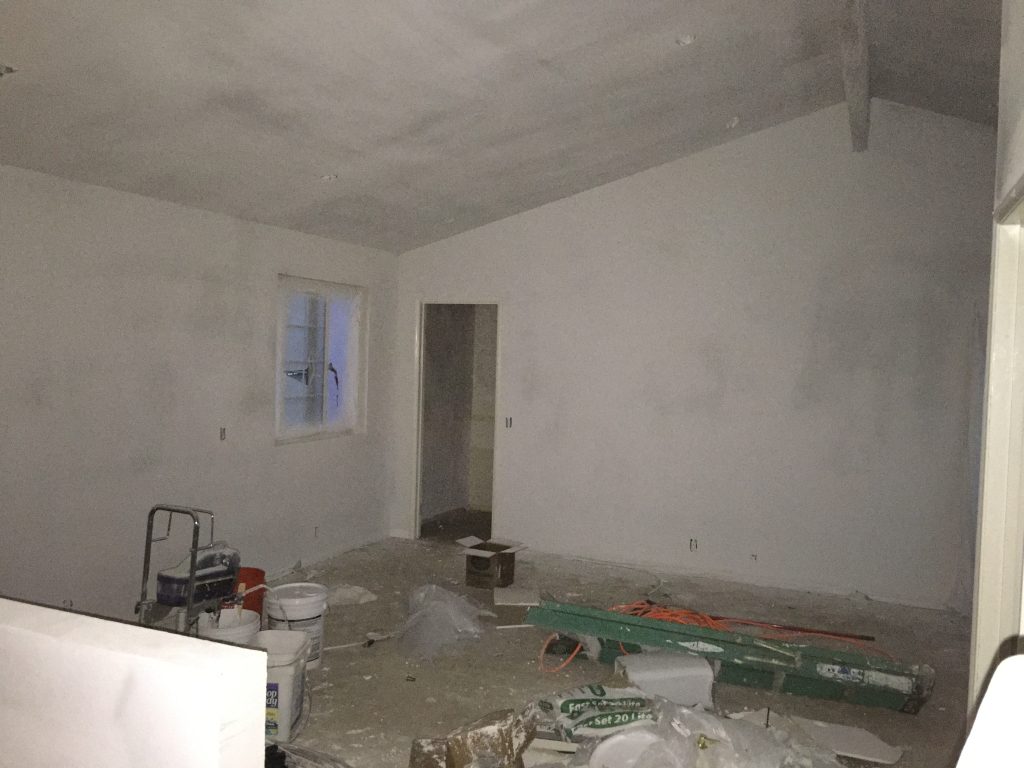 Step #1 was cleaning and repainting the entire room.
Obviously using real timber would have been prohibitively expensive and impractical - in Ryan's modern home there'd have been no way to add real solid timber beams to the ceiling.
But he discovered FauxWoodBeams.com and realized that he could get exactly that look for a fraction of the price - and in a form that would take just a day or so to install.
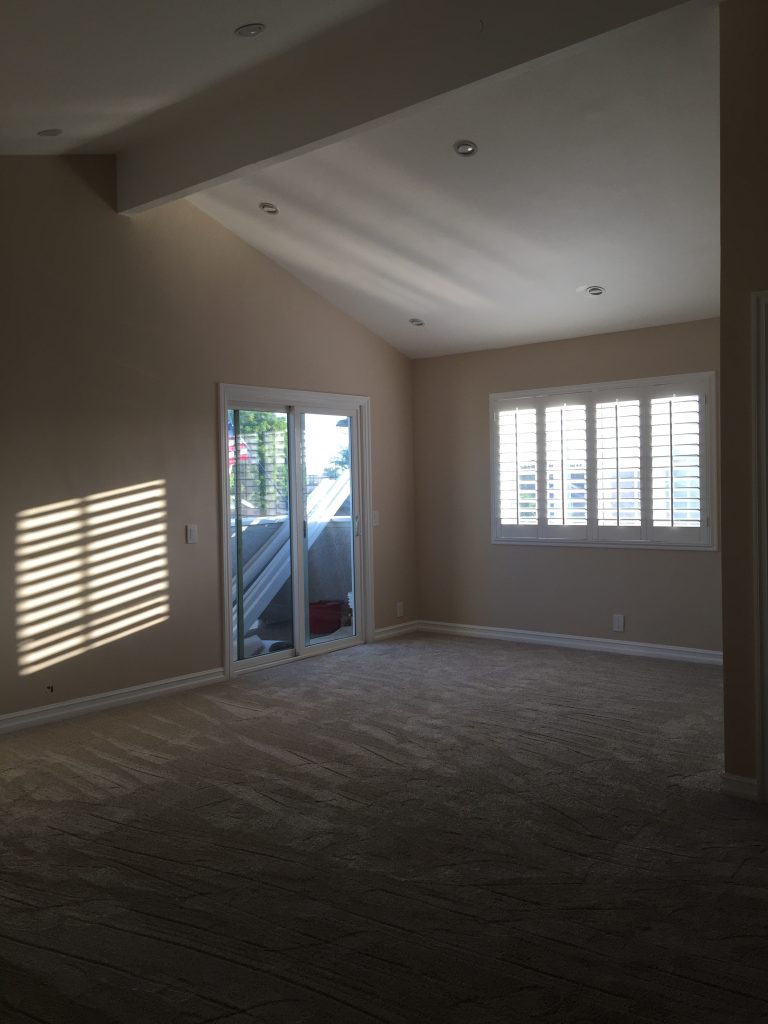 Step #2: Careful measurements were taken, and planning began.
And that's the story of how Ryan became the mastermind behind this incredible bedroom project - and what a great job he did of it!
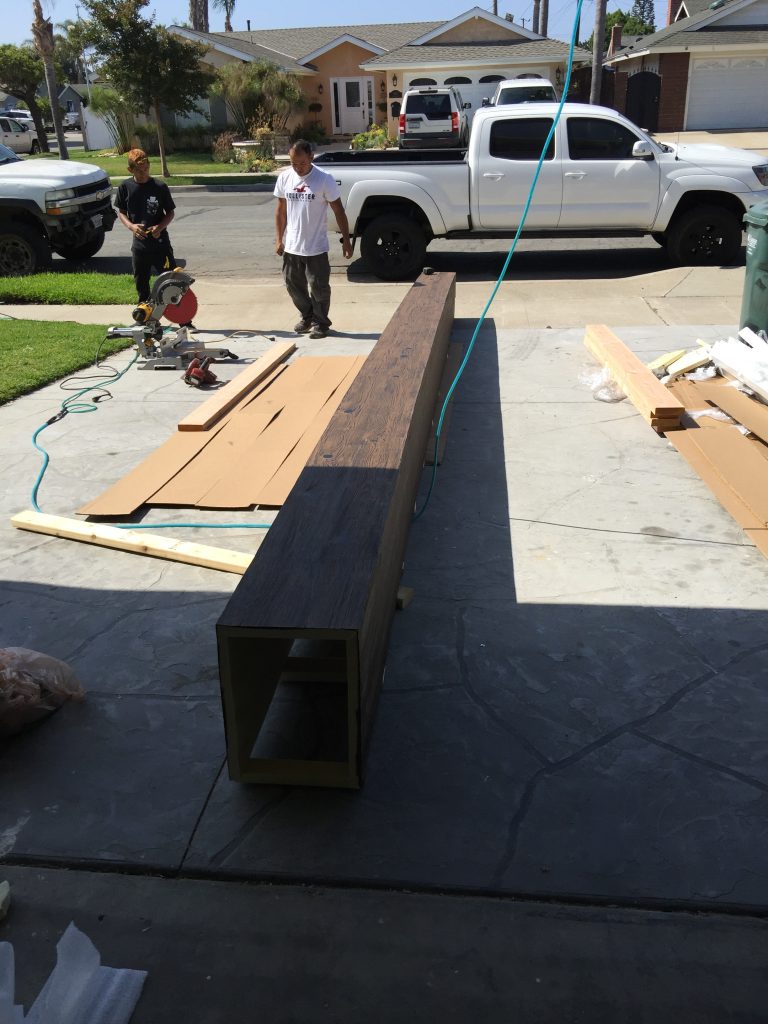 The beams were delivered in long lengths, ready for trimming and installation.
As you can see from the exterior shot, the foundation of this project was a massive central beam that Ryan installed directly over the existing apex beam. Because our faux wood products are manufactured from lightweight polyurethane foam, this beam simply slotted over the smaller beam, and was secured with screws.
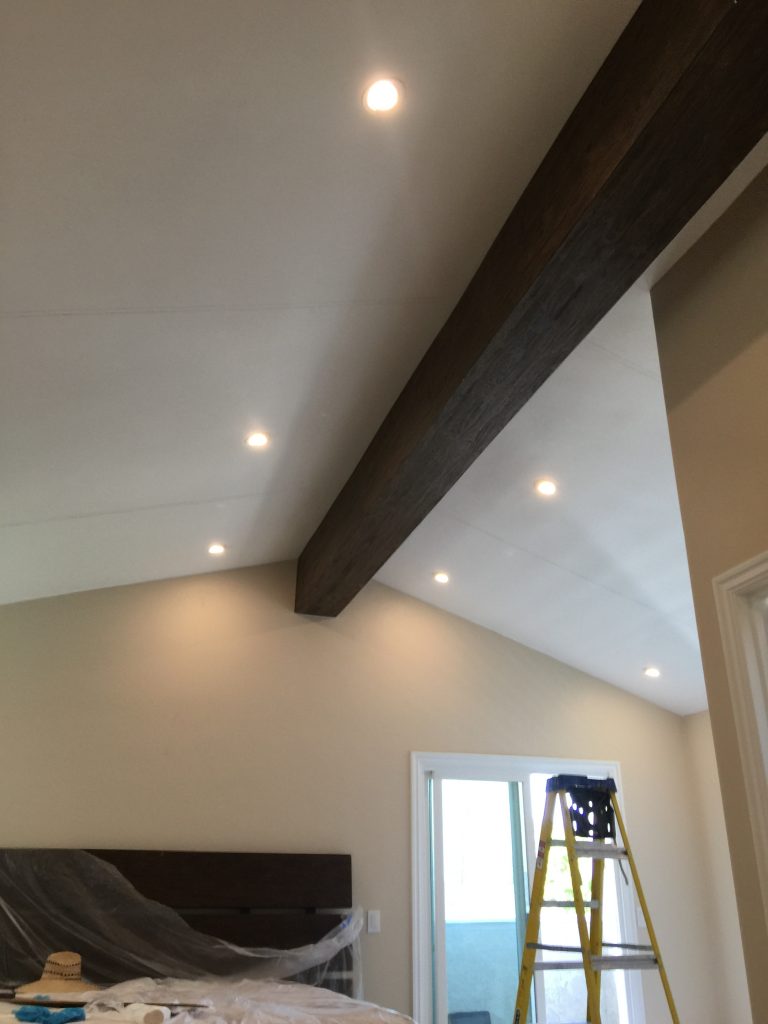 The central beam went in first, slotting right over the existing apex beam.
Next, Ryan carefully measured out seven smaller lengths of beam, which he installed branching out from the central beam. This perfectly resembled the way a real structural timber ceiling would look; and again the lightweight beams were easy to secure to the ceiling with mounting blocks attached to the studs beneath the drywall.
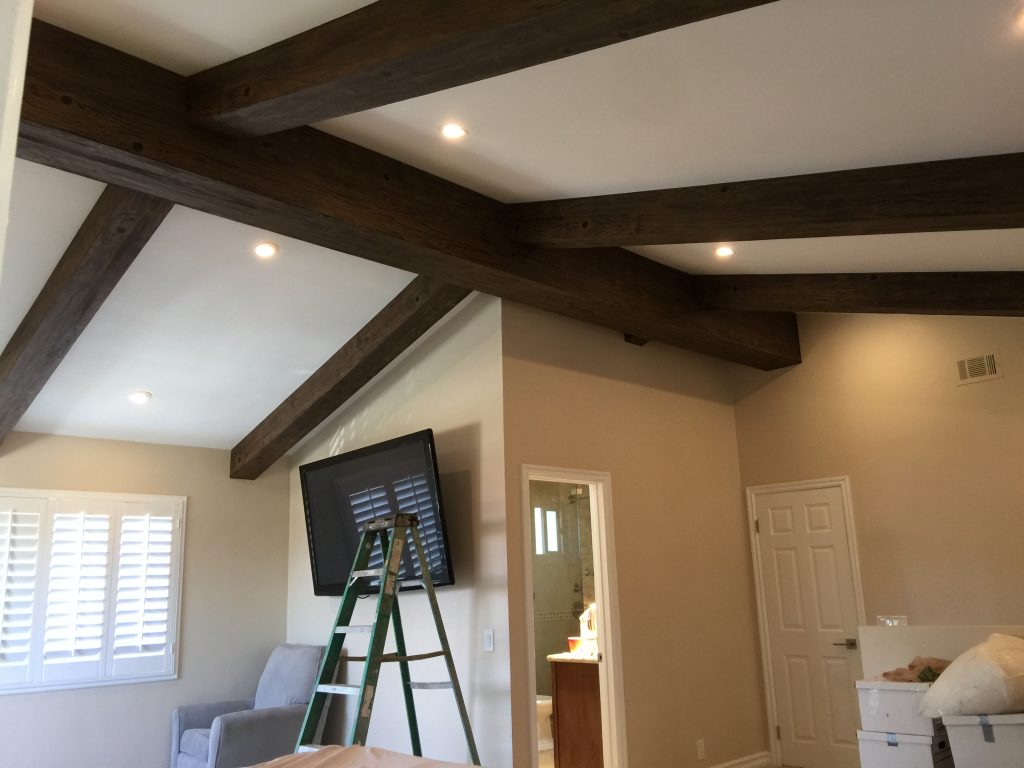 The shorter lengths of beam were added next, extending out from the central beams.
The biggest challenge was cutting the edges of the beams at an angle so they fit flush with the central beam - and, as you can see from the pictures, Ryan managed to do that flawlessly.
It's a deceptively straightforward project that demonstrates how solid planning, careful measurement and accurate installation can really transform a room. We love this project, and think Ryan did an amazing job with it.
Shop Related Products


