
Witness a living room ceiling transformed with the installation of Custom Beachwood beams, shown step by step with these customer photos.
A comment we consistently receive from customers is how easy it is to install our beams. It's one of the signature features of faux wood products from Barron Designs - and just one of many reasons why they're often 'better than the real thing.'
But you don't need to take our word for it - the photos speak for themselves, visually demonstrating the straightforward process.
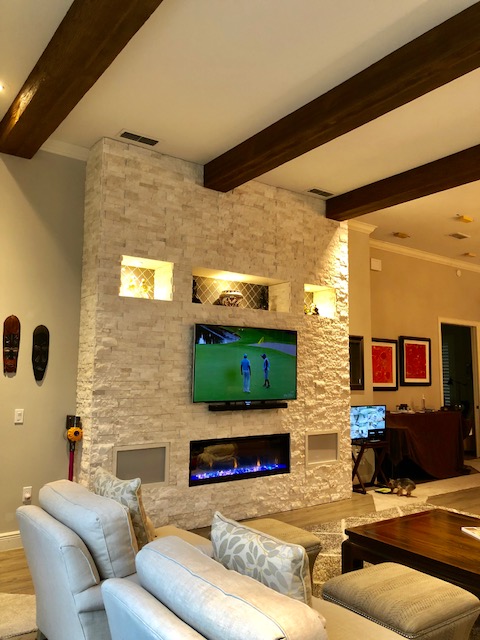
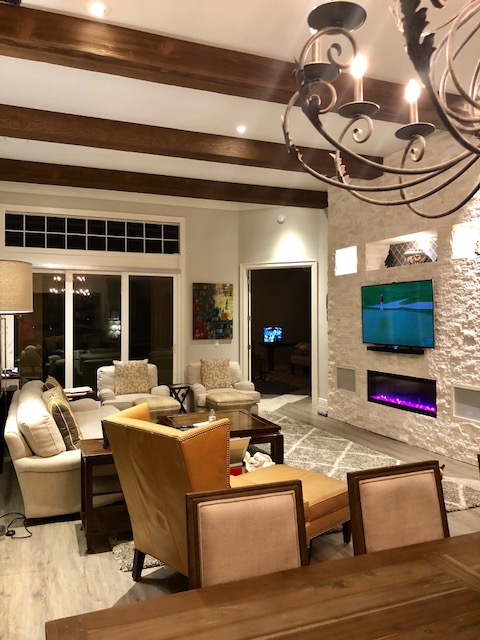 The completed project: Custom Beachwood beams installed on the ceiling
In this particular project, the homeowners wanted to install beams that spanned the entire length of the living room ceiling. It's a pretty standard installation - and a very elegant one.
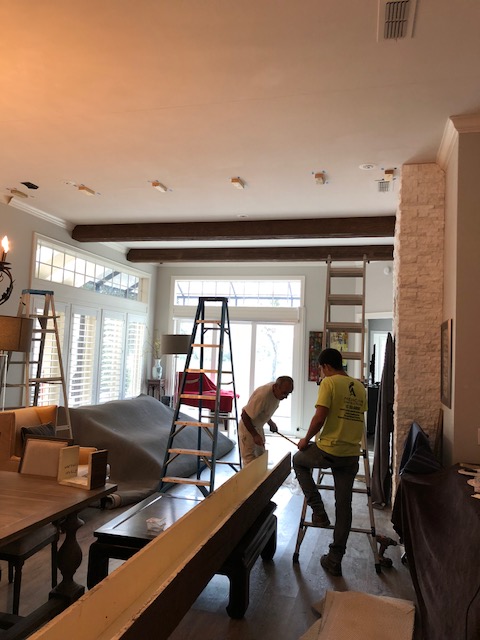
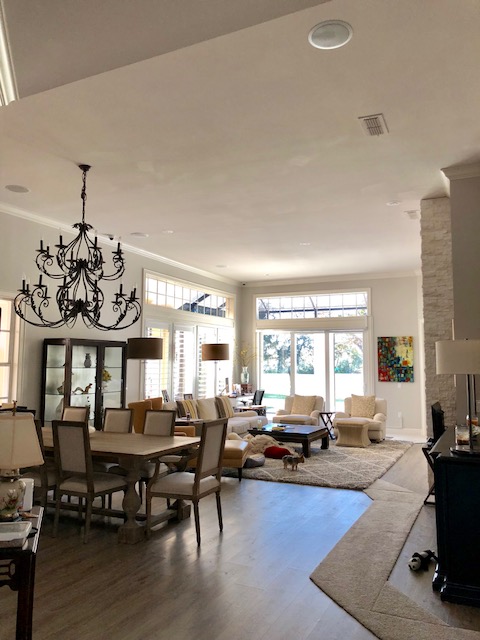 BEFORE: The homeowner wanted to break up the monotony of the white ceiling
Once the beams had been ordered and delivered, the first step was to measure and plot their placement. The key is to measure out equidistant spaces between the beams, so that they look symmetrical and match how real support beams would look in a similarly constructed home.

Next was installing the mounting blocks. These are very simple wooden blocks that are drilled into the ceiling studs beneath the drywall. Our hollow u-shaped beams slot over these beams, and are secured to them with screws. Essentially, the beams hang from the stud-mounted blocks safe and secure, not from the ceiling surface.
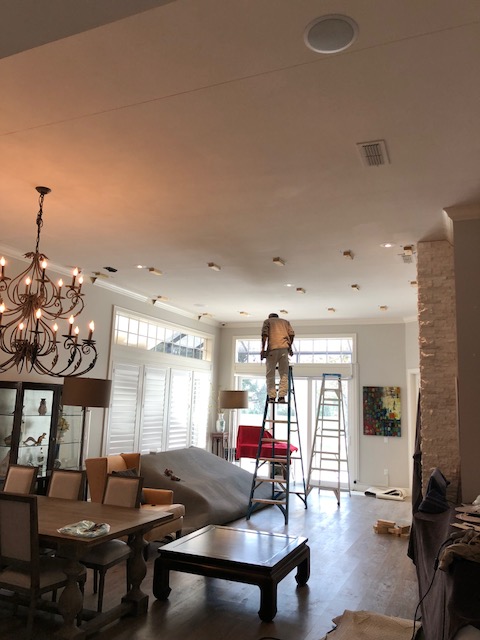 Securing the mounting blocks to the ceiling studs
The number of mounting blocks you'll need depends on the length of the beam. Faux beams are surprisingly rigid and can span some areas with only a single mounting block installed at each end. But for a ceiling this size it was important to utilize more blocks - securing the beam to them every few feet.
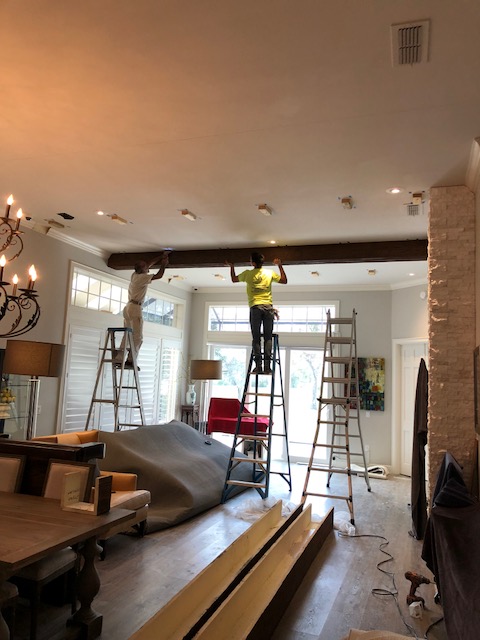 Sliding the first beam over the blocks.
Then it was time to take final measurements. While our beams can be ordered in large lengths - right up to 30' - this is never an exact science so we strongly recommend ordering them a few inches to a foot longer than you think you'll need. At that point, take careful measurements of the true span of your ceiling, and trim the ends of the beam to match.
 Measuring and trimming the beams to fit flush against the wall.
The good news is that you can use a regular wood saw to trim the beams, so it's something anybody with a tape measure and basic carpentry tools can accomplish. Even better, their high density polyurethane material our beams is rigid and sturdy enough to cut neatly.
Following that final trim, it's time to install the beams - and this is where at least one other person is useful (or, in the case of beams this length, more like essential.)

The beams are flipped around so the hollow interior faces the ceiling, and then lifted up and slotted over the mounting blocks. Our beams are light enough that one person can easily lift them; although two people or more makes the whole job much easier, and you don't run the risk of bending or snapping the beam if it's particularly long.
If the measurements are accurate, the beam should slot neatly over the mounting blocks, and fit flush with either wall. From there, it's simply a case of drilling mounting screws through the beam into the mounting blocks within, and you're done. Any unsightly exposed screw-heads or nicks can then be instantly covered up with colored caulk - which is available as an accessory when ordering.
 Two beams were trimmed shorter to accommodate the floor-to-ceiling fireplace.
And that's it! These pictures give a pretty good indication of what's needed to successfully install our beams. The only curveball of this project was the fireplace. It extends up to the full height of the ceiling, so two beams had to be trimmed even shorter to fit flush.
The end result looks fantastic, though - and thanks to careful measuring, the beams fit perfectly with each opposing wall. On the stone fireplace, especially, this looks great because it seems like the beams are extending out of the stonework - just like they would if they were real support beams.
Shop Related Products


