
FauxWoodBeams.com customer Shari Khoury recently wrote to us and included photos of the cased opening between two rooms of her home, newly trimmed with a rustic ceiling beam.
\"We recently upgraded our rental villa in Branson, Missouri, with a Rustic Tuscany theme," wrote Shari. "We installed a 14ft Custom Heritage Beam in Light Oak across the cased opening between the living room and kitchen. My husband and I were very impressed at how quick and easy it was to screw into the existing wall, and the results were so dramatic, it changed the whole feel of the room!"
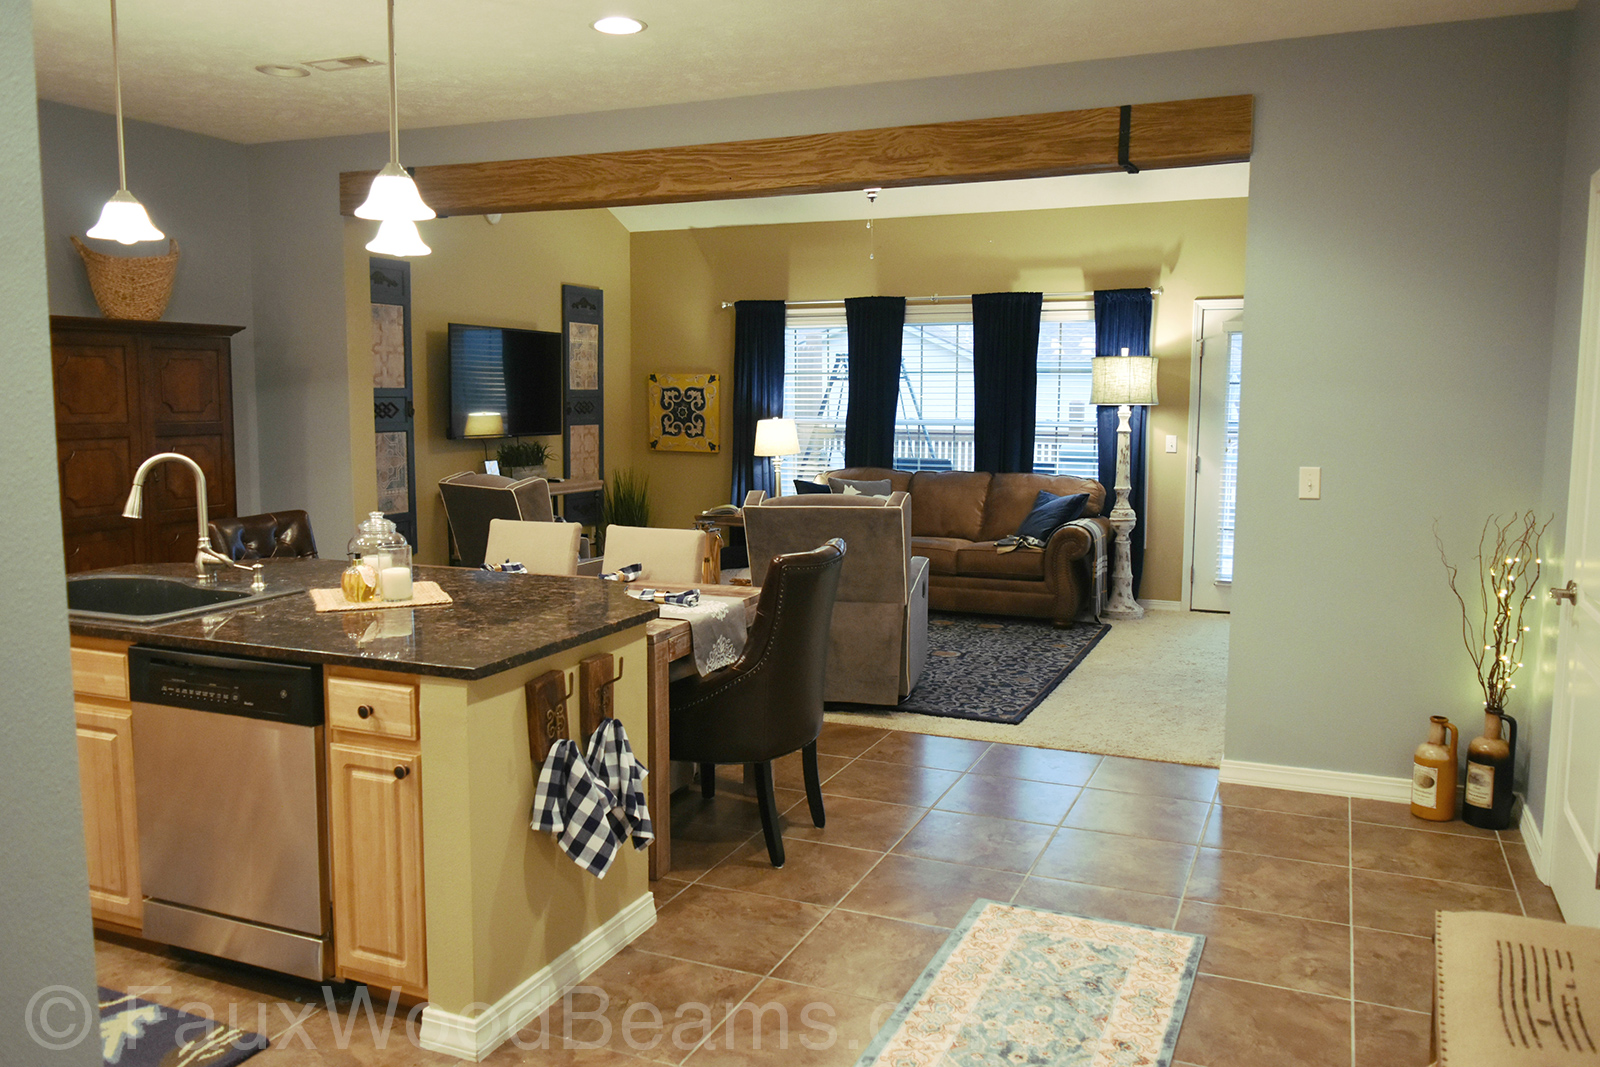 A single Heritage ceiling beam is all that was needed to trim the cased opening beautifully
We were excited to share the pictures of Shari's project with you, because it's a great example of design at its simplest and best. Even though the beam is purely decorative, it looks just like an authentic supporting beam exposed to the world.
While this project is straightforward, it demonstrates a lot of thought. for a start, Shari ordered the beam at the perfect width to match the existing walls and reinforce the illusion of a structural element. Secondly, the beam was measured carefully to perfectly fit across the space available.
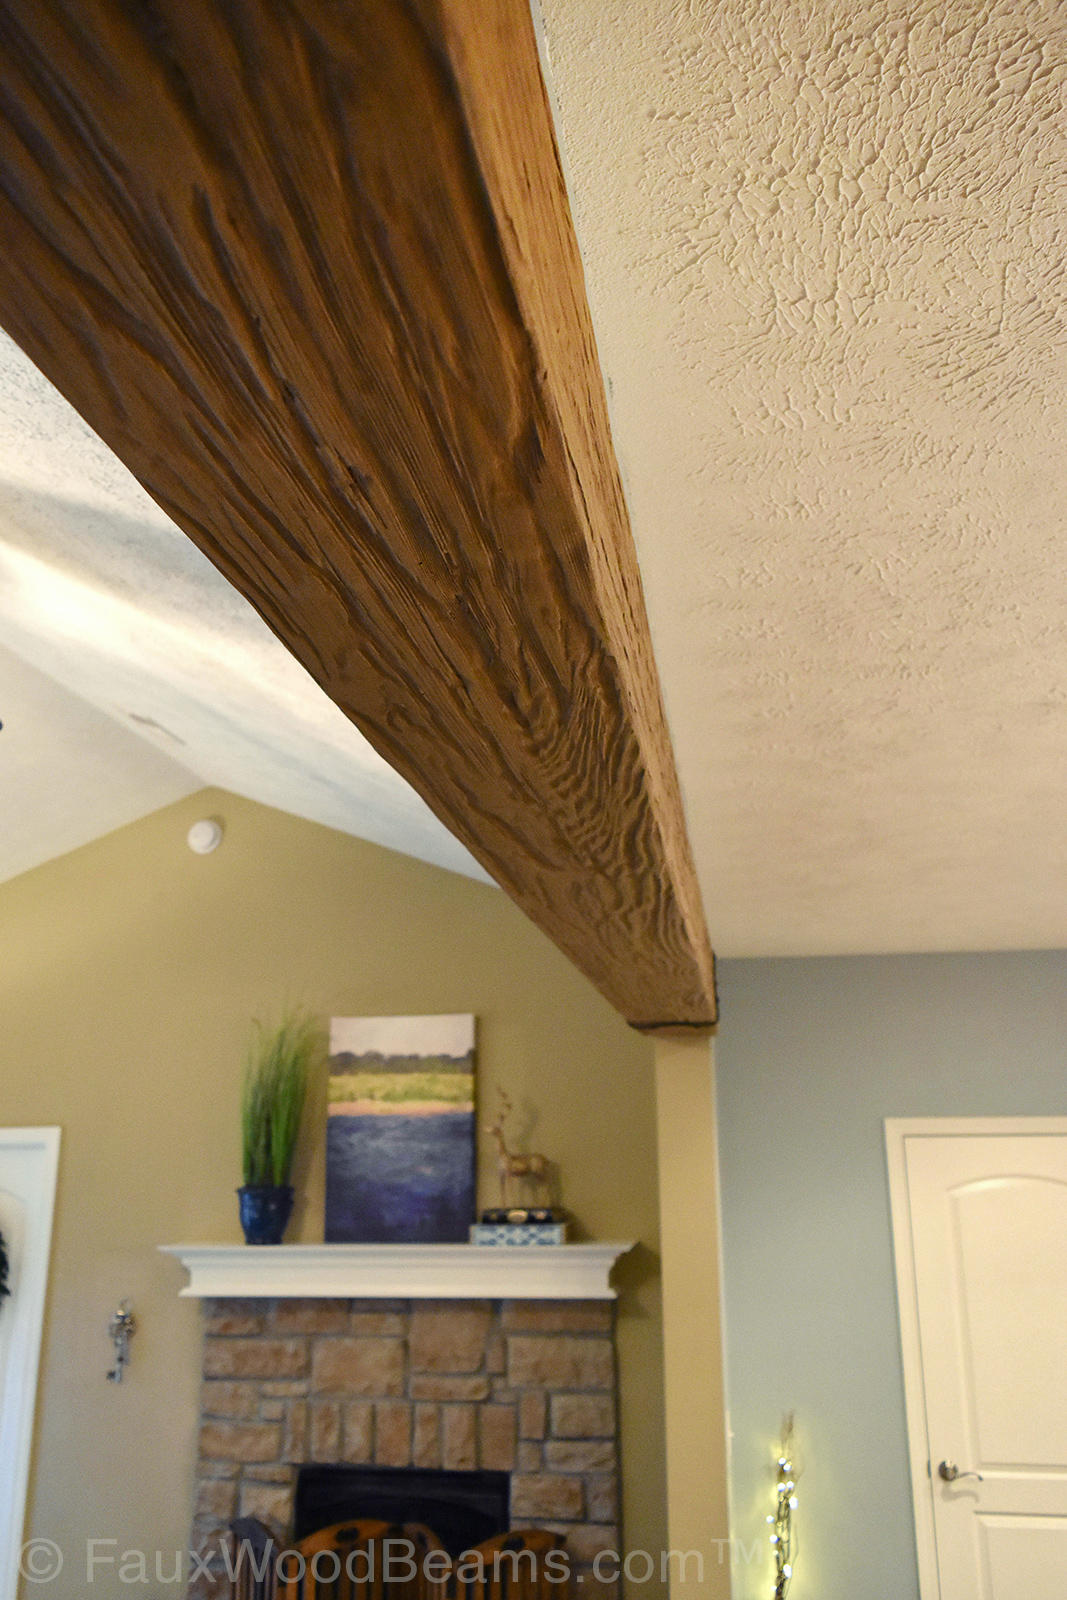 Close up view of the beam in the beautiful Light Oak Finish
To install it, Shari drilled mounting blocks into the ceiling studs, and then the u-shaped hollow beam slotted over them, and was secured with regular wood screws.
For an added touch of class, Shari added our accessory beam straps, at equidistant points from the edges of the beam. These resemble the cast iron straps that used to support real wood beams, and adds an even more authentic look to the project.
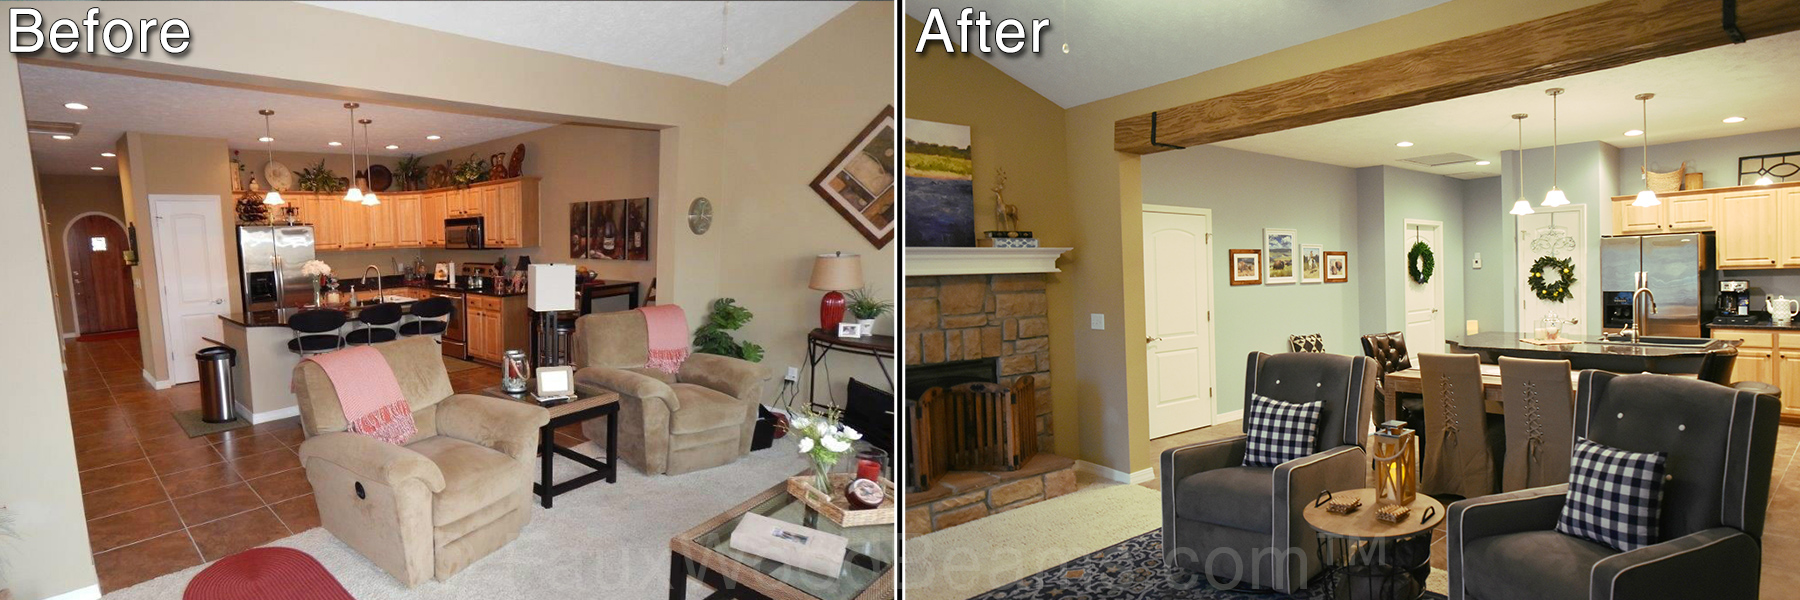 BEFORE & AFTER: What a difference a beam makes!
We love this beam fitting, and are excited to share the pictures with you. What do you think about it? Let us know in the comments section below!
Shop Related Products


