
While polyurethane columns require very little maintenance, there may be a few instances when they need a bit of paint - to conceal caulking, cover cut marks that exposed the raw polyurethane or touch up other small areas.
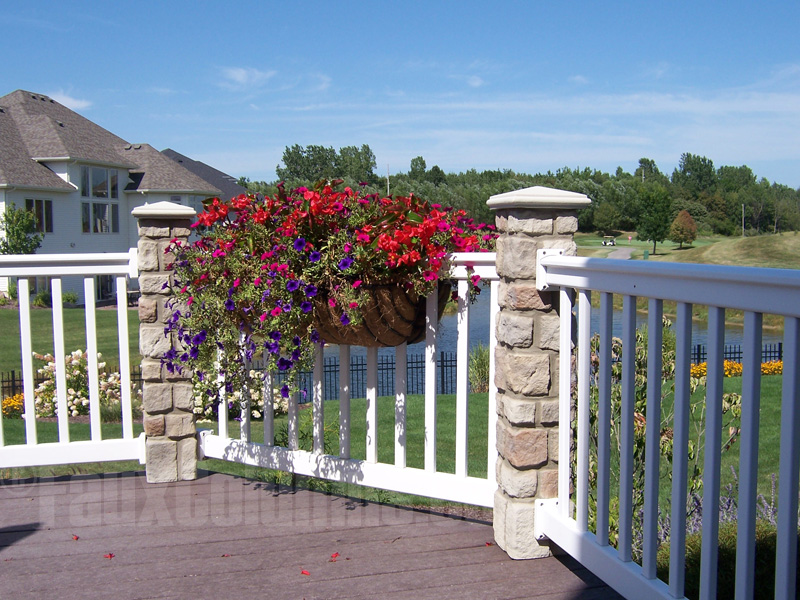 Touch-Up paint kits ensure your column's color stays consistent
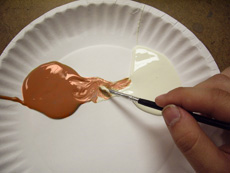
For this kind of project, you’ll need the touch-up paint that is made for Carlton columns. You’ll find this paint in the tab on the product page for each column that says “Needed For Install.” Before touching up your column with paint, we recommend practicing this on a scrap piece first. A paper plate is a perfect place to practice.
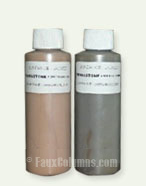 A touch-up paint kit is available for every column style and color
- Depending on the color of your Carlton column or post covers, there may be multiple colors in the touch up paint kit.
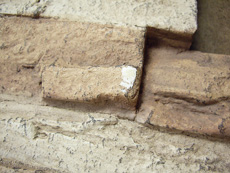 The columns can sometimes have spots that require touch-up paint.
- Additional factors in determining which paint colors to use include the size of the affected area, the surrounding color, and the depth of the scuff or scratch that needs touching up.
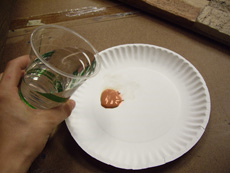 Dilute the paint with water before painting your columns.
- Dilute the touch-up paint with water before you start painting on the column. This way, you’ll have a workable consistency.
 Blend the paints for best results
- Mix the colors as needed, so as to achieve different shades. For a more transparent appearance, add a little water and dab off excess paint. Apply a small amount of the diluted paint to a moist cloth, sponge, small brush, or Q‐tip.
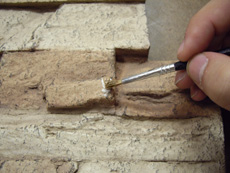 Dab paint on to the affected area
- Begin painting the column using the lighter colors first. After doing that, wait 10 to 15 minutes for the paint to dry before applying the darker shades. Dab paint into your desired areas. Make sure to quickly wipe up any paint in undamaged areas with a clean, damp cloth.
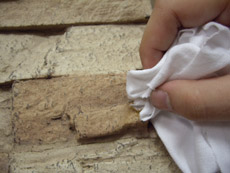 Dab paints with a damp cloth to blend
- Make sure to wipe off any excess paint immediately. Applying thin coats of paint in translucent shades is usually best. You can then gradually darken the area to blend it in. As needed, use a clean, damp cloth to dab the paint until the repaired area blends in with its surroundings.
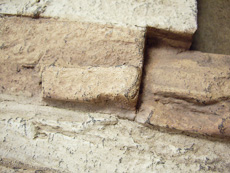 When repairs are completed, the affected area is no longer visible
- Now, just let the paint dry and you’re done!


