
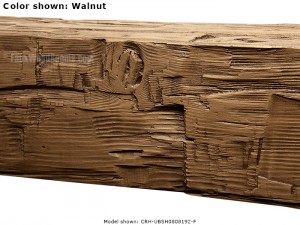
Recently, we've published a number of stories about customers who ordered our unfinished beams and stained them at home to match their existing wooden fixtures. We thought it might be time to look into some tips and tricks for making our already realistic beams even more authentic looking.
The first stage to staining faux wood is a good primer coat. A lot of people recommend white, but we prefer something a little more wood-colored, to really bring out the base. We've actually been doing this so long we even have a preferred brand! Benjamin Moore’s “Fresh Start” 100% acrylic all-purpose primer.
Once that's applied and dried, you can stain the primed beams any color you want. We recommend using Benjamin Moore’s semi-transparent deck stain “Arborcoat”, which is available in a variety of colors. If you ordered our products pre-primed, you can apply the "Arborcoat" directly to them.
Now for most people, that's enough. Once the beams are dry, you'll get a finish that matches the rest of the wood in your home. For ceiling beams especially, not much more is needed to enhance the real wood look.
However, if you want to take it to a whole new level, there are a couple of tips and tricks we can recommend.
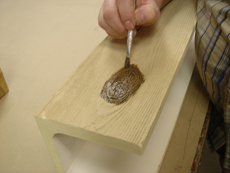 Between the primer and the main coat, add some darker stained 'knots'
Firstly, you can add knots to the stain. In real wood, it's quite common for the 'knots' of the wood (the areas where branches would grow) to be a slightly darker color to the rest of the timber. You can recreate this in between the priming stage of staining, and applying the final coat of "Aborcoat."
Taking a slightly darker shade of stain than the one you plan to use on the whole beam, paint little 'knots' where you think the grain pattern looks best. Then, after those daubs have dried, stain the rest of the beam as normal. When the beam is finally finished, you'll see a subtle knot pattern underneath.
A second tip is something called 'washing.' This is especially effective on products like ours.
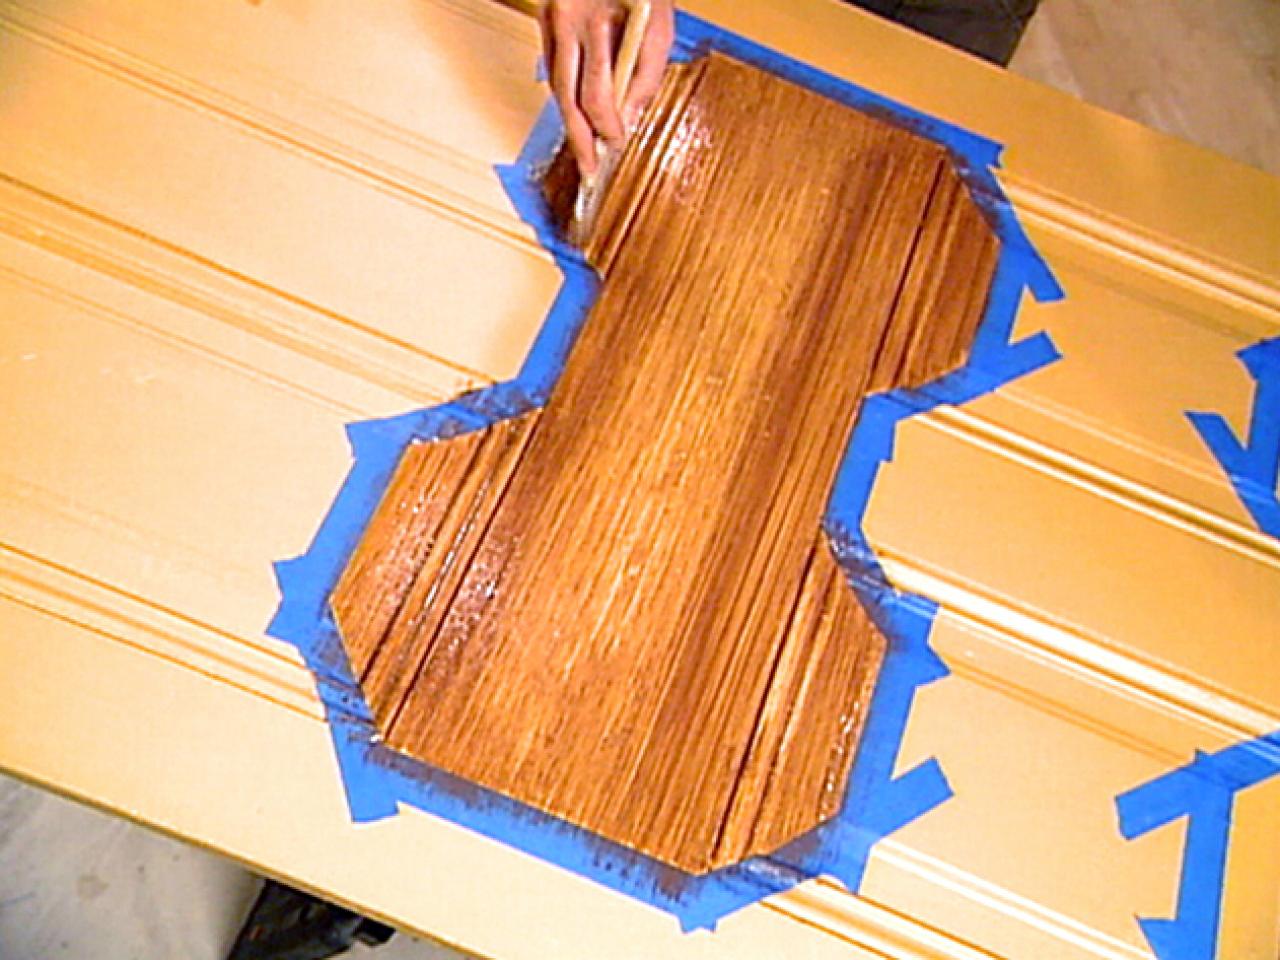 This photo from DIYNetwork.com shows a section of a wood door being 'washed' to emphasize the grain.
Once you've applied the final coat of "Aborcoat" stain, you should mix up a new solution of water-based stain in a darker color. Get it good and watery - the sort of thing that would look washed out if you tried to apply it as an overall stain.
Then, apply it with a wet brush so that the darker stain runs into the crevices and pits of the beam. When this dries, it will make the indented areas appear darker, and the higher areas seem lighter - emphasizing the texture and grain of the beam in a subtle, but noticeable way.
The final tip is the exact opposite of that - a trick called 'drybrushing'.
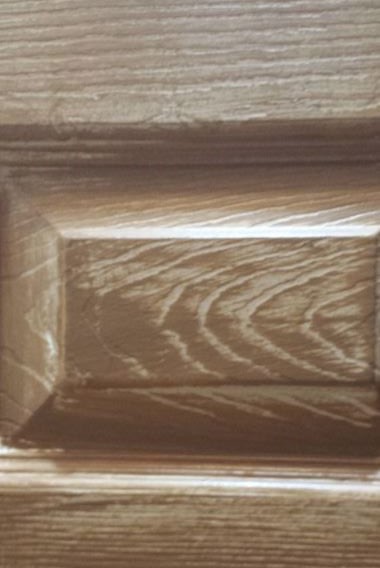 Drybrushing accentuates raised points
While 'washing' emphasizes the crevices of a beam, drybushing does the opposite. To do this, you'll want to get a water-based acrylic or stain that's a shade lighter than the one you finished the rest of the beam with. Then, cover a wide, soft brush with it and wipe the brush clean with a paper towel.
You want to make like you're wiping all the paint off the brush - but as you can imagine, not all of it will come off. Instead - and you'll see this on the paper towel itself - there will be just enough residual paint on the brush to paint the highlights, but not the entire thing.
Then, taking this nearly-paintless brush, you brush it over the surface of the beam and it will lightly highlight the raised paints of the beam texture - making them appear a touch lighter than the rest of the beam.
Once again, this is an understated way to highlight the texture of the beam.
What do you think? Have you tried any of these techniques? If you have, let us know - we'd love to see pictures!
Shop Related Products


