
How To Add Corners to BBQ Island Without Mitering
We received these pictures of a fantastic DIY BBQ island - and it's a great example of how to approach one of the challenges of working with faux panels; corners.
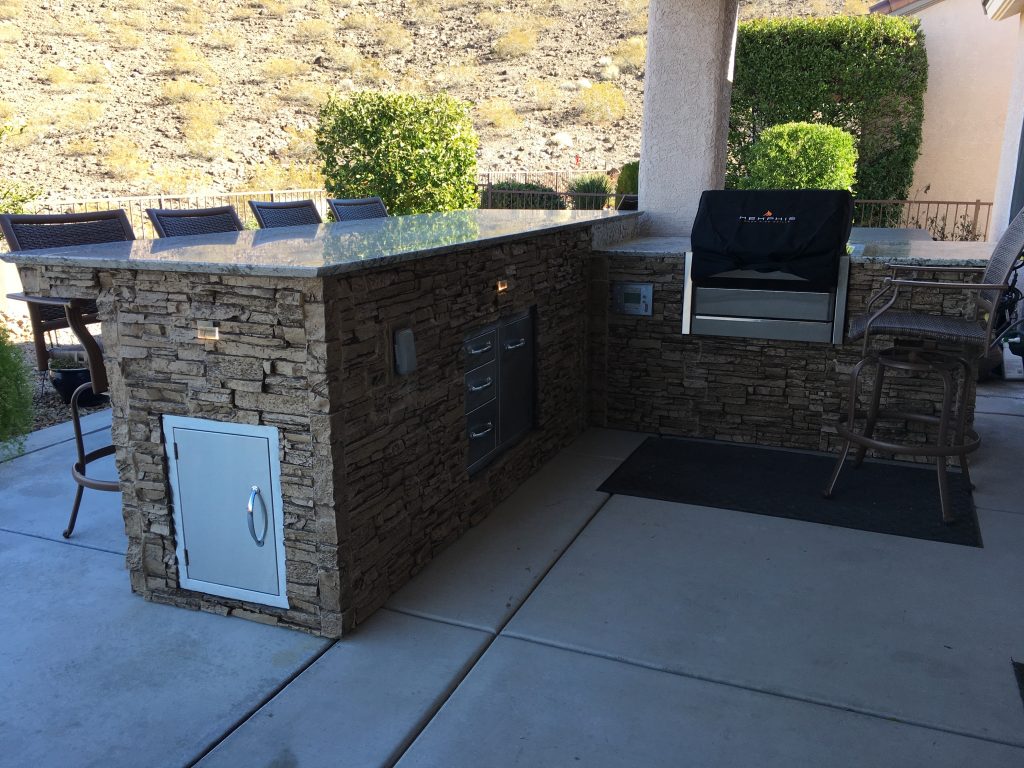
Barron Designs customer John Abaun finished his beautiful BBQ island using our stacked stone panels. One element that John really nailed were the corners; and that's why we wanted to highlight his project here.
Traditionally, many outdoor kitchens are made with actual stacked stone - piled up on top of each other and sealed with traditional mortar. This can look great, but is impractical for a number of reasons - not least of which is the cost of buying hundreds of stones, and the days or weeks it takes to build and finish that sort of project.
John wanted to create a kitchen that reflected the charm of his home, but he knew that using real stone wasn't the smartest option - so he went 'faux' instead.
To achieve that, John started out by building a frame for his BBQ and counter, with regular carpentry and wood. Following that, he added a beautiful hand-laid cement countertop; which is a great-looking, more practical alternative to granite or marble. Finally, he covered the sides of this structure with our panels to get a stunning and realistic stacked stone look.
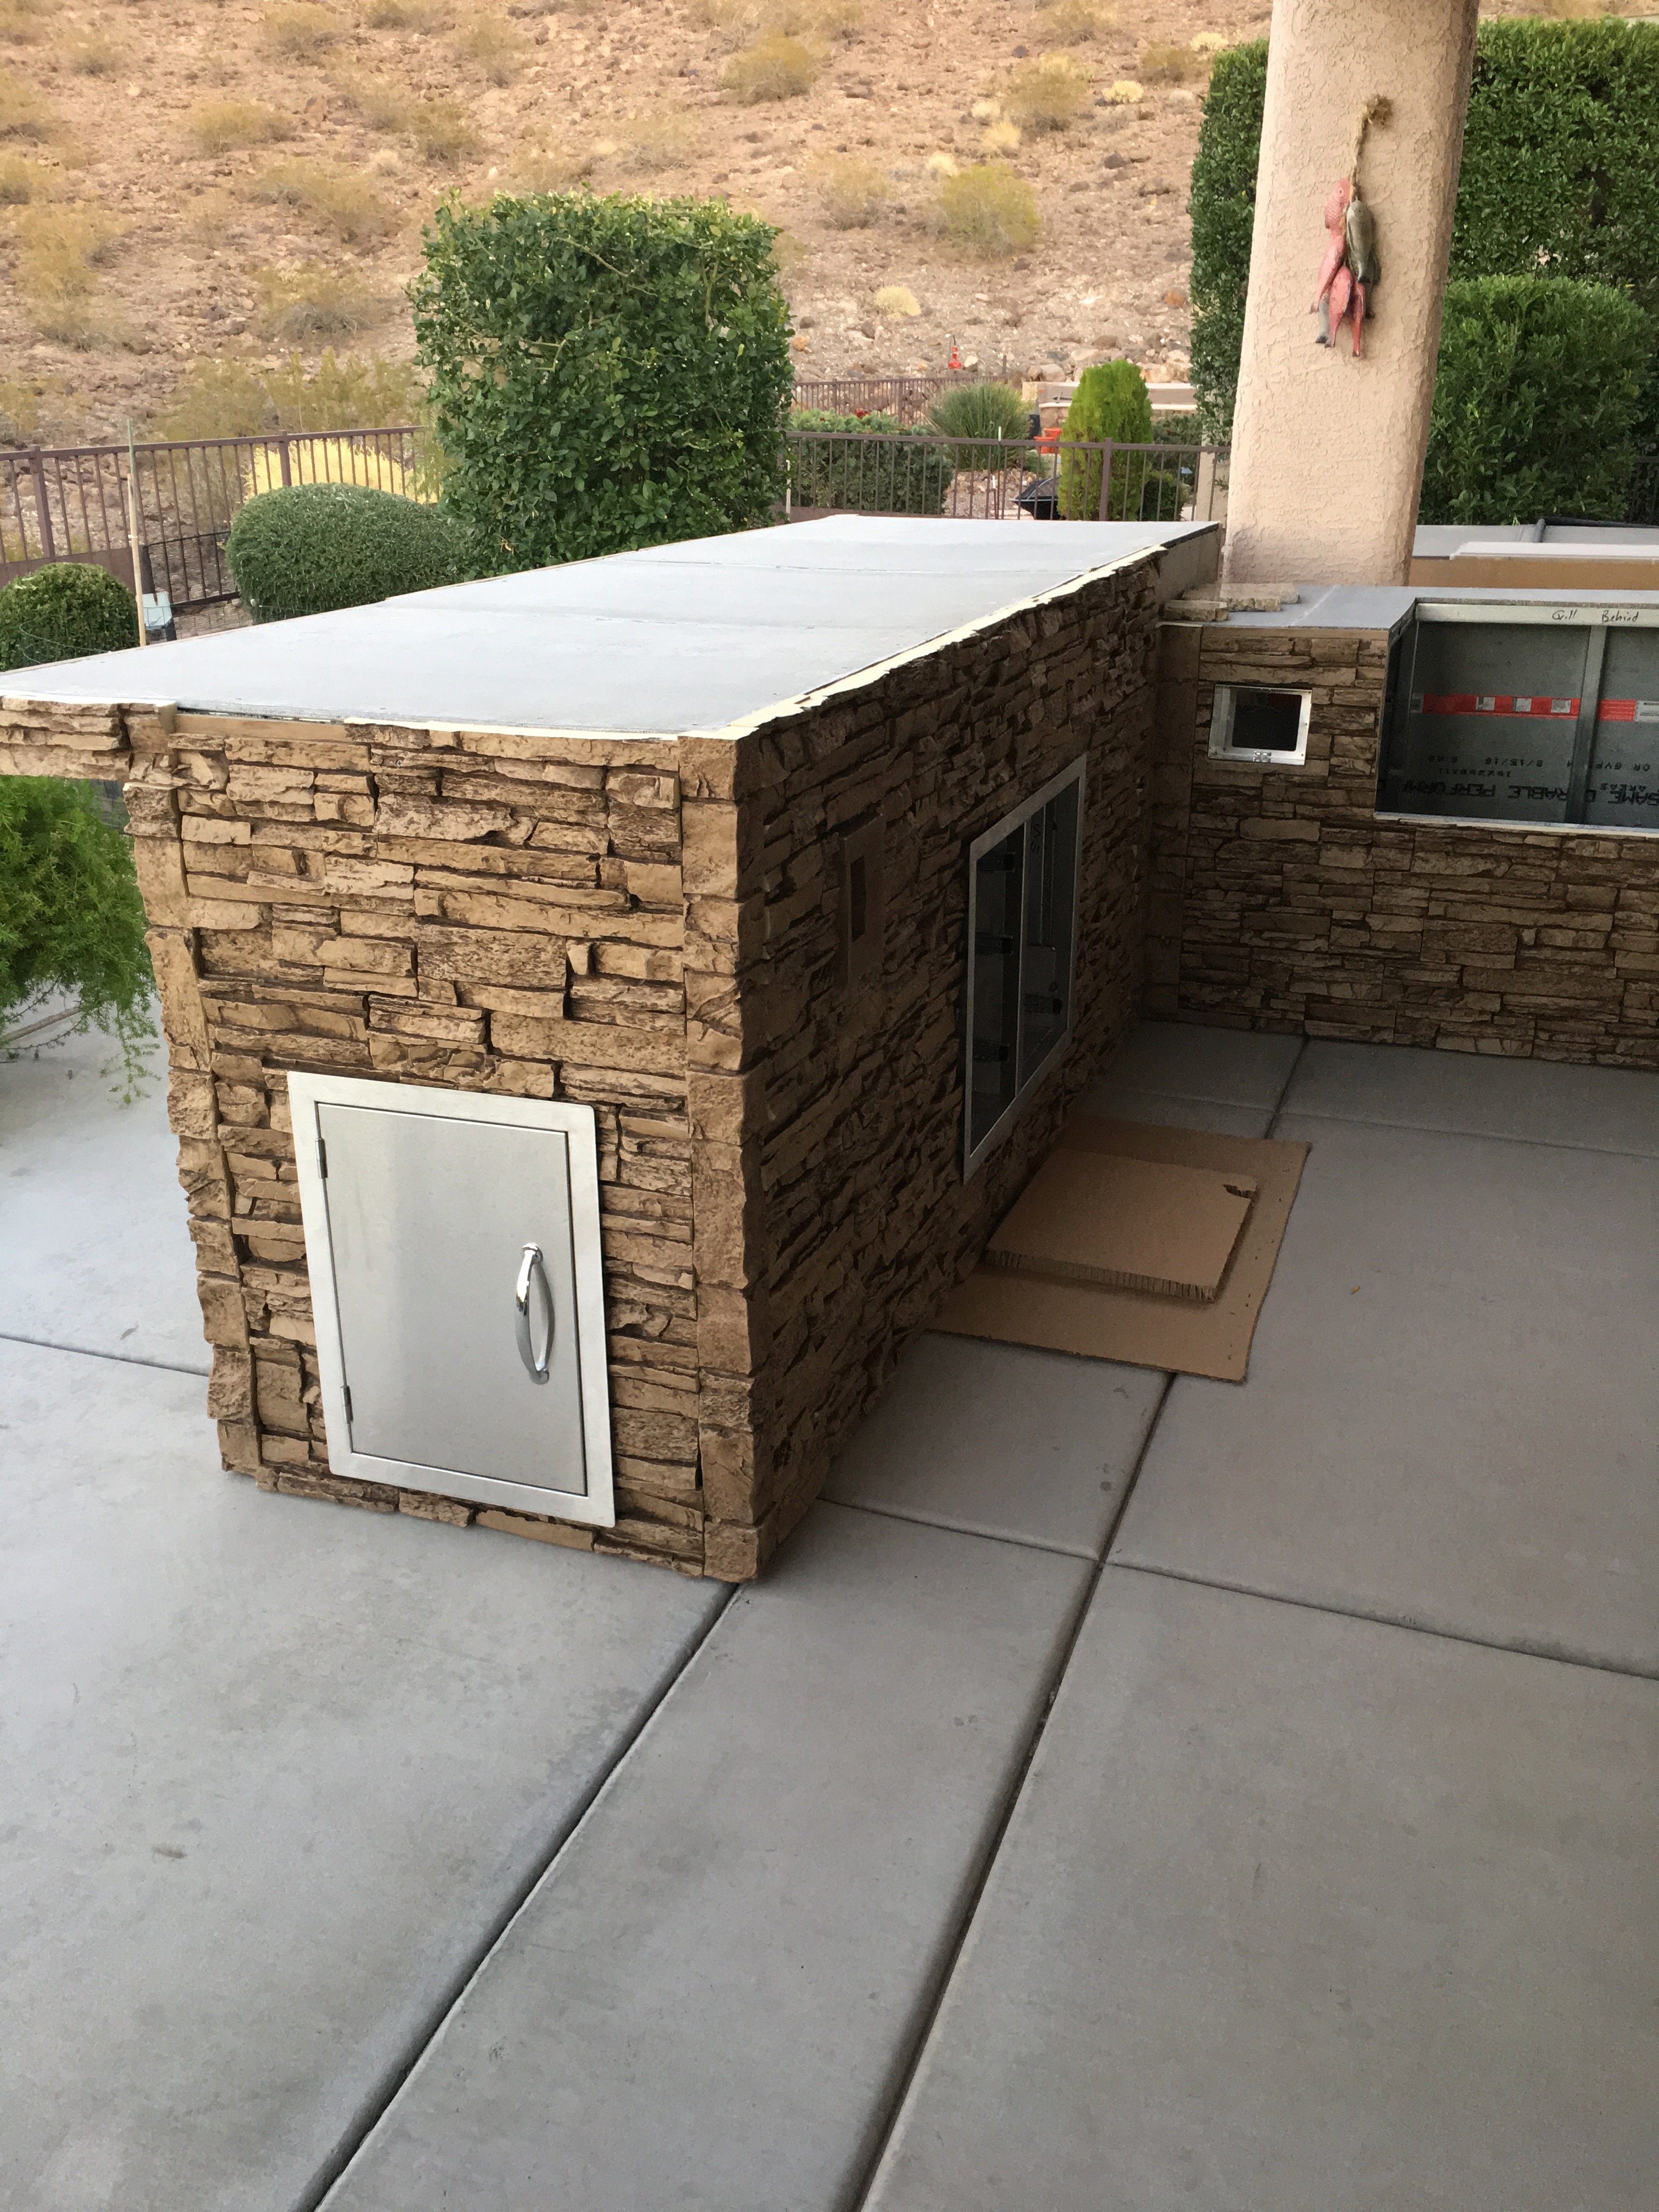 Pay particular attention to the corners - where John used outside corners to ensure a seamless look.
But John wanted to make sure the corners were done right to maintain that realistic look. The edges of the kitchen were smaller than the panels that John was covering them with, and that meant that getting the two edges to line up right was potentially going to be a challenge.
Challenging is very far from impossible, and in fact there are a multitude of different ways to approach creating corners for faux panels that anybody with home carpentry skills can achieve. The standard for these is 'mitering' - which involves cutting 45 degree wedges out of two sides of a panel, and then 'folding' it over to create a seamless pattern.
However, when you're talking about a project like a kitchen island, mitering becomes a little more challenging because the amount of space you're covering with panels is smaller. Eventually you'll always end up with two edges of a mismatched panel lining up - and while there are ways to get a seamless texture, a lot of people look for an easier option.
That's where John's solution came in - corners.
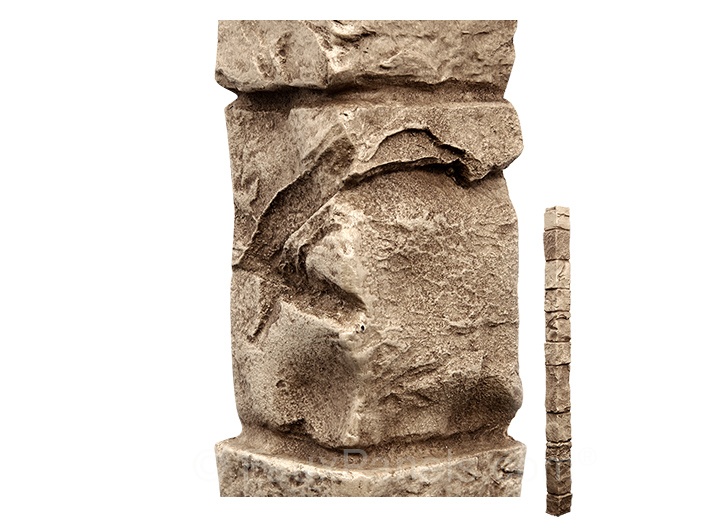 Our corners make a perfect 90 degree angle simple and straightforward to install.
Our panels feature a variety of different options for simplifying the corner process. These are edges that slot right over the corners of the original structure, and fit flush with the edge of the main panels to create an aesthetically-pleasing finish that doesn't involve any complex carpentry.
All John needed to do was fit the corners, and then measure the space between to know how big the panels should be. It was simple, straightforward - and the end result looks great. In fact, a lot of people might prefer the style to a traditionally mitered corner.
What do you think? Let us know in the comments section below - and if you've had any experience in cornering panels, be sure to let us know! We're always looking for examples of smart corners to share.
Shop Related Products


