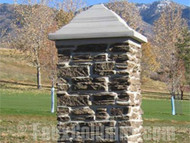
Installing a faux column isn’t as tough as it looks. In fact, it’s quite easy. With the simple, step-by-step instructions that are included with these orders, you’ll be able to install them on your own in no time.
As with all of our products, there’s no need to hire a mason at all. By following the instructions below, your column will be up and in place before you know it.
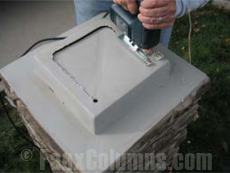 Start your stone column installation by making the necessary starting cuts.
1. Begin the installation of your stone veneer column by cutting out the top and bottom of the column/stack section.
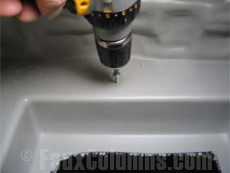 Ledgestone columns and stack sections allow you to create taller columns
2. When using a stack section, turn the column upside down and place the stack section on top of the column. Drill holes in the corners and then bolt the column section together.
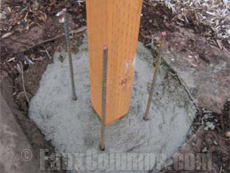 A properly set structural post will enhance the durability and lifetime of the column.
3. Dig a post hole for the structural wood portion of your faux ledgestone column. Set the post and then fill the hole with the right amount of concrete.
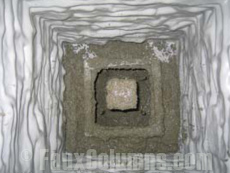 Added concrete to the base of the ledgestone columns strengthens the construction.
4. Set your column over the structural post.
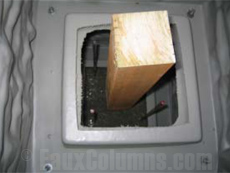 The structural post gives added support to your faux stone column installation.
5. Fill the column with at least 10" of concrete.
 Your faux stone column installation is now complete!
6. Finally, level your column and then secure the cap with screws.
You now have a beautiful artificial stone column that resembles the work of a professional mason. The look will enhance your property’s visual appeal, no doubt.
Shop Related Products


