Recessed Lights in Beams Installation Instructions
General Tools and Materials
-
 Light Fixtures
-
 Jig Saw with Finish Blade
-
 Screw Gun / Drill Driver & Bits
-
 Pencil
-
 Safety Glasses
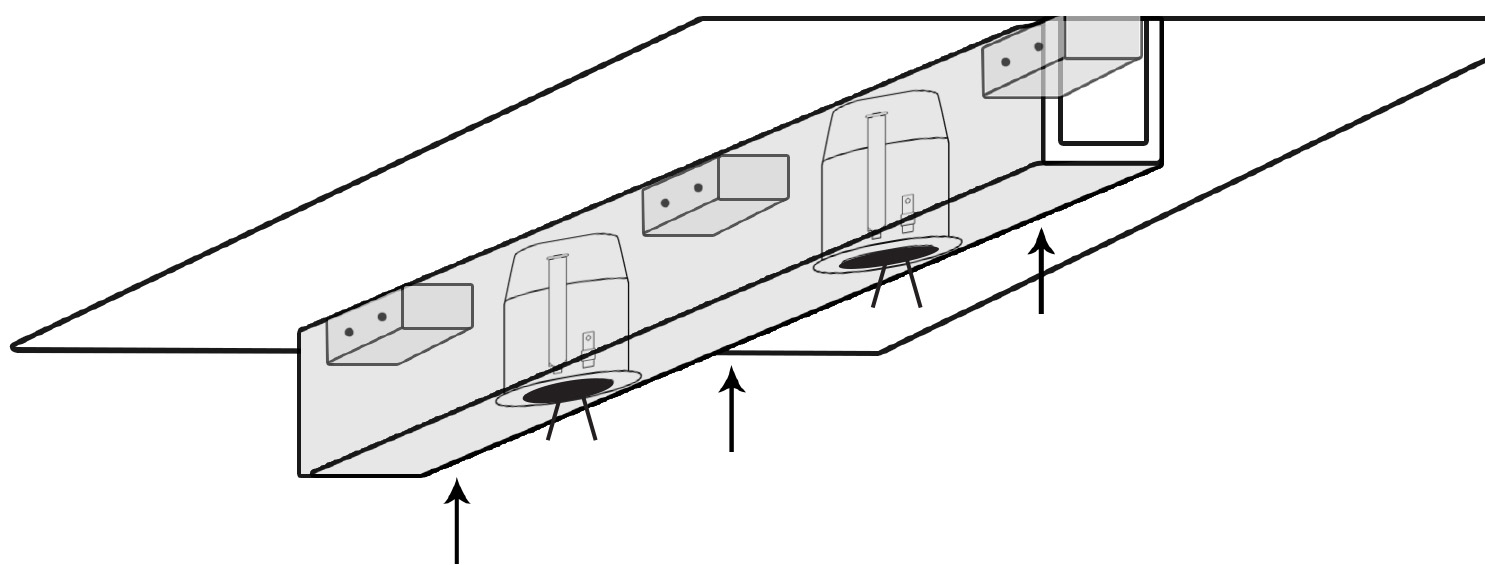
Installation Overview
WARNINGS
WARNING: Beams are for decorative purposes only. They are not to be used for structural support, bracing or suspension of objects.
- Consult a licensed electrician if your installation requires electrical work that you are unfamiliar with.
- Follow local building and fire codes as well as the light manufacturer’s recommended clearances.
- Turn electricity off prior to starting any electrical work.
- Pull all electrical prior to installing the beam and lights.
- Wear safety glasses during the entire installation process.
WARNING: Beams are for decorative purposes only. They are not to be used for structural support, bracing or suspension of objects.
Directions
Step 1
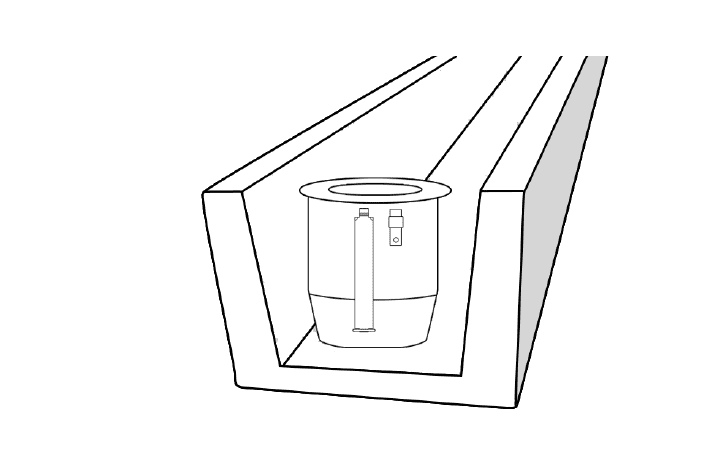
Measure Beam
Ensure your fixture has adequate clearance inside the beam.
Step 2
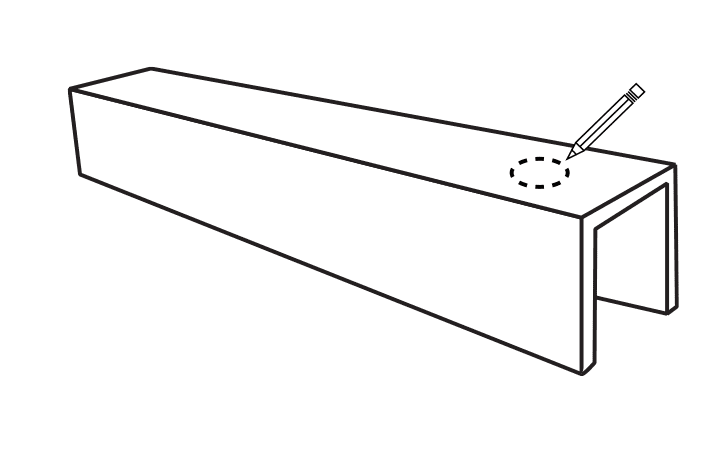
Mark Location of the Hole
Determine the location of your light. Mark the cut based on the light manufacturers instructions/template.
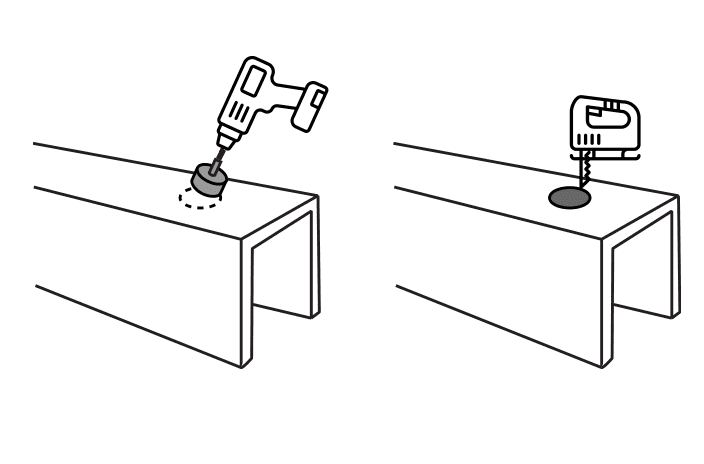
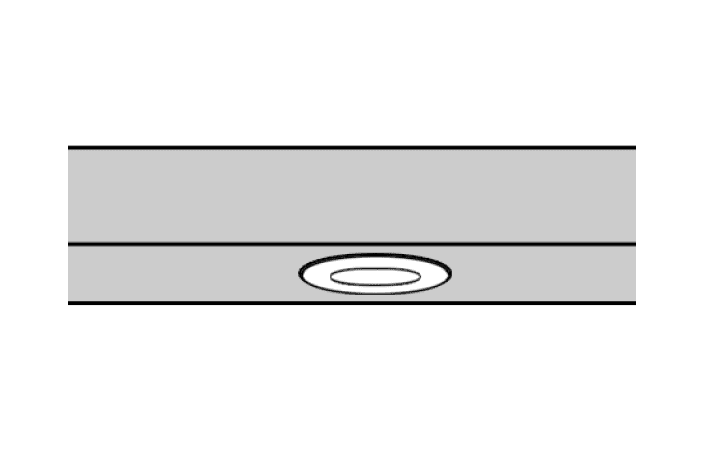
Step 3
Cut Holes
Step 4
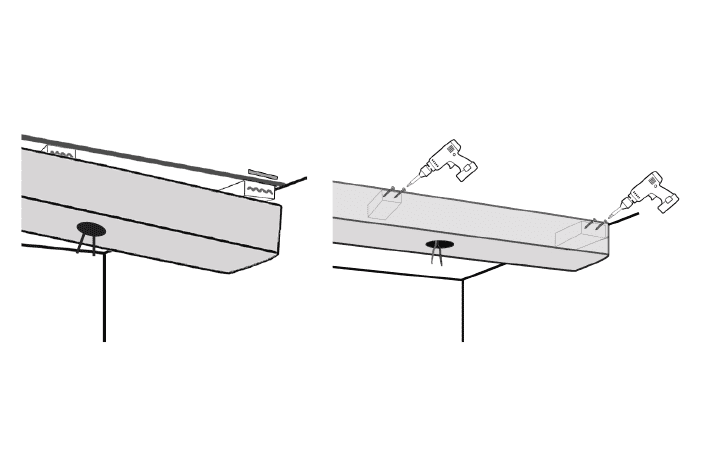
Install Beam
Install the beam based on the appropriate installation guide over the electrical work. Ensure that all electrical has been pulled prior to gluing and screwing the beam in place.
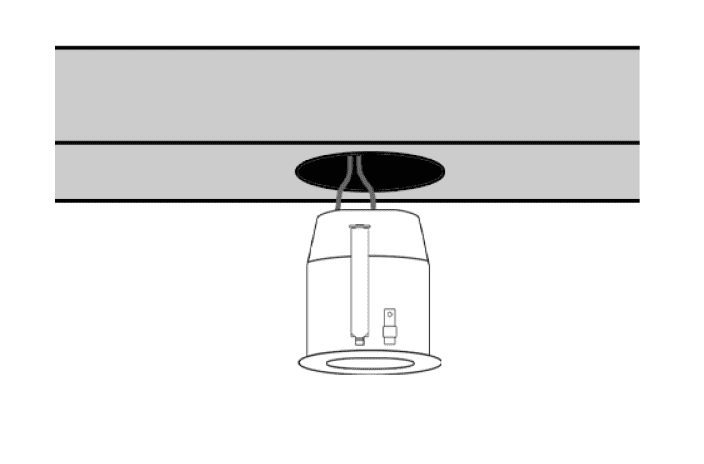
Step 5
Connect the Light Fixture to the Electrical Supply
Step 6
Insert Fixture
Insert fixture into the beam and finish according to light fixture manufacturer instructions.