Corbel Installation Instructions
General Tools and Materials
-
 Corbel
-
 Wood for Blocking
-
 Screw Gun/ Drill Driver & Bits
-
 Caulk Gun
-
 Loctite® PL® Premium® 3X Construction Adhesive
-
 Color Complimenting Caulk or Wood Filler
-
 Deck Screws
-
 Saw
Saw
-
 Tape Measure
-
 Touchup Kit
-
 Small Paint Brush
-
 Clean Cloth
-
 Safety Glasses
WARNINGS:
- Be sure to obey all safety rules and recommendations set forth by tool manufacturers.
- Wear safety glasses during the entire installation process.
- Always comply with clearances set forth by the manufacturer of stoves, fireplaces, furnaces, and any other heat source.
Directions
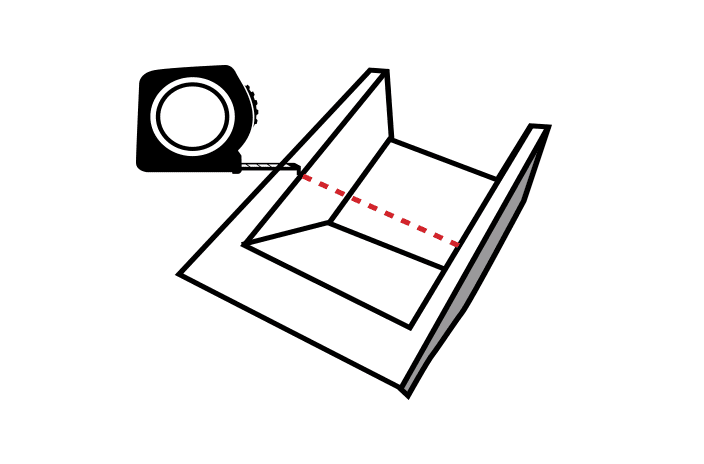
Step 1
Measure the inside dimensions of the corbel.
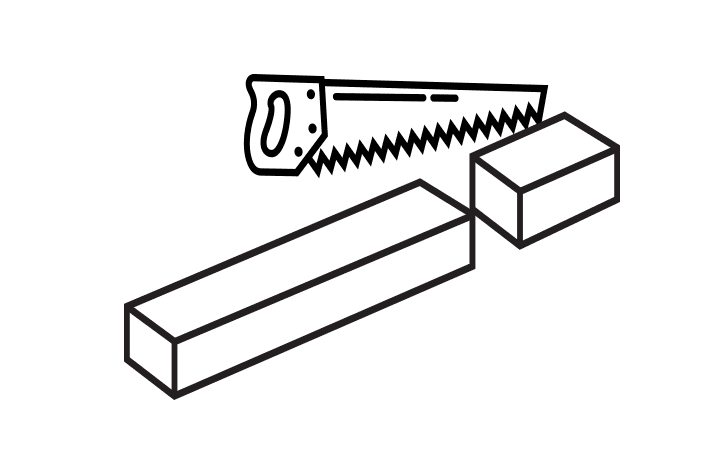
Step 2
Cut a block of wood (not supplied) to fit the inside dimension of the corbel.
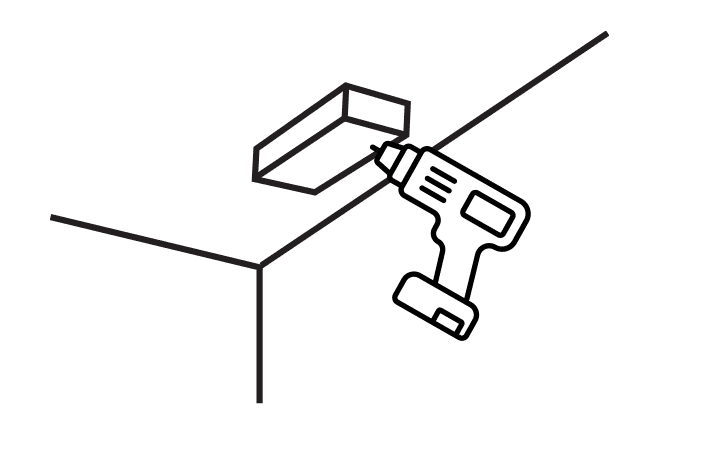
Step 3
Install the block of wood where you want the corbel to go.

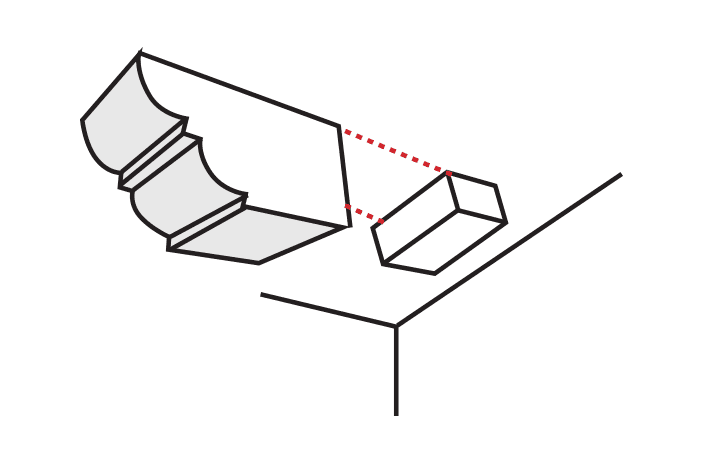
Step 4
Apply PL premium construction adhesive on the edges of the corbels.
Step 5
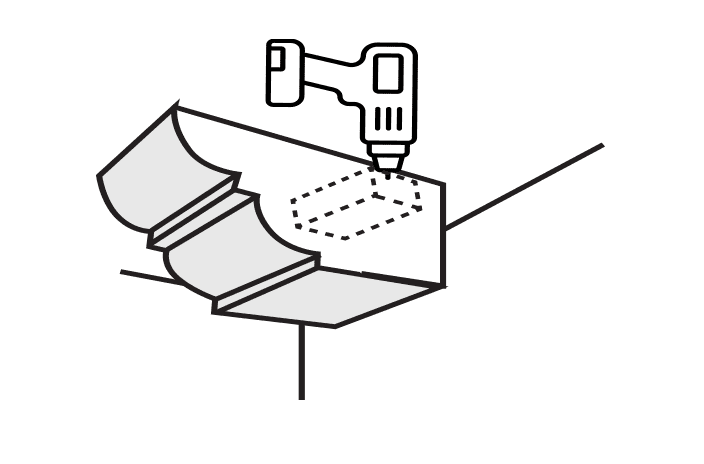
Install Corbel
Place corbel over the mounting block and slightly countersink at least one screw per side through the corbel and into the block of wood.
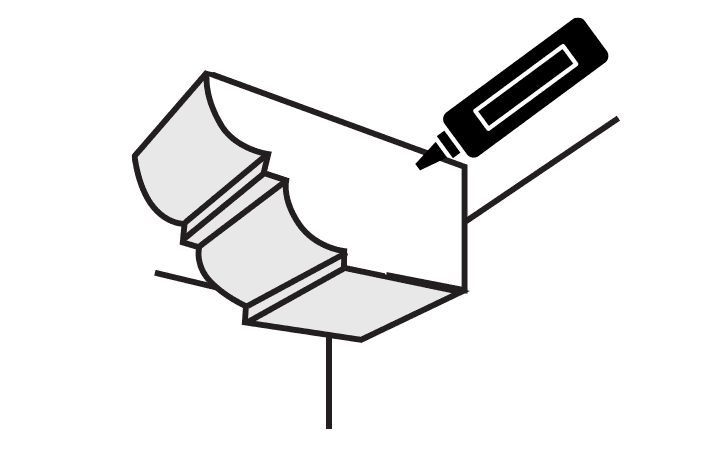
Step 5 (Continued)
Install Corbel
Quickly wipe away any excess adhesive.
Step 6
Fill in the screw holes with the colored caulk or colored wood filler and use paint from the touch-up kit to further conceal holes.