Slat Wood Acoustic Panels Installation
AcousticMOD slat wood acoustic panels are easy to install on your wall
Fast and simple installation allows you to transform any space quickly. Acoustic Slat Wood Panels are easy to install and instantly enhance your bedroom, living room, kitchen or office, even in music studio or podcast space.
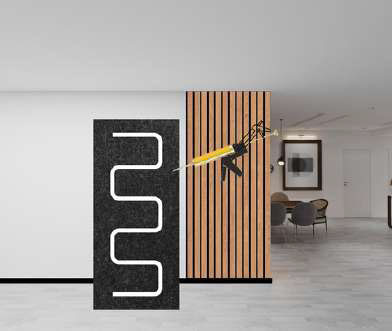
Method 1
GLUING STRAIGHT ON THE PANEL
Mounting the panel on the wall with glue
A construction glue or grab adhesive
is recommended for this
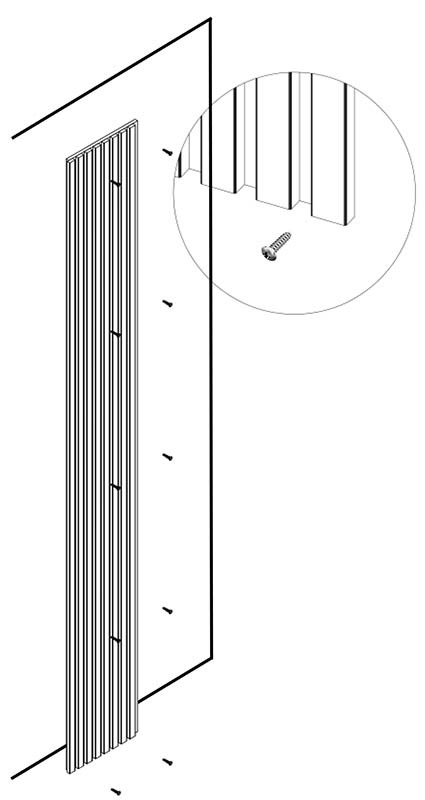
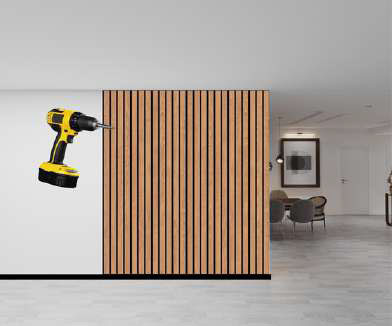
Method 2
SCREWING DIRECTLY INTO THE WALL
The panels can be screwed directly into the wall
through the acoustic felt.
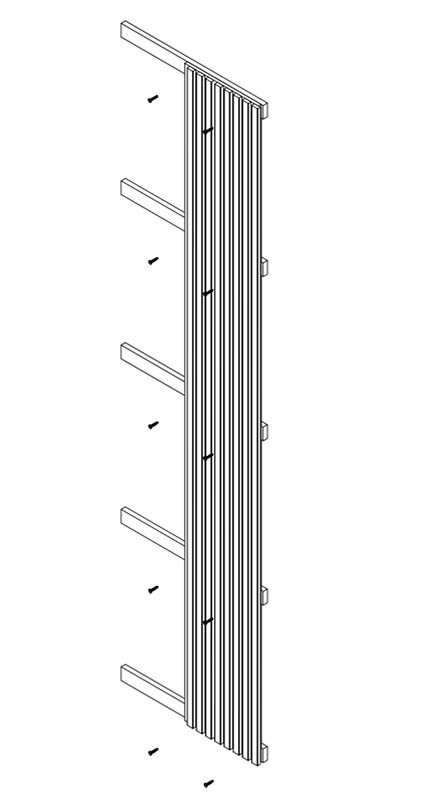
Method 3
SCREWING / NAILING THE PANELS
ON TO FURRING STRIPS
First, install furring strips on the wall. Then, screwing/
nailing the panels on to the furring strips. (our
recommendatiton)
INSTALLATION INSTRUCTIONS

How to Install acousticMOD Panel
There are three different options for AcousticMod Panel installation
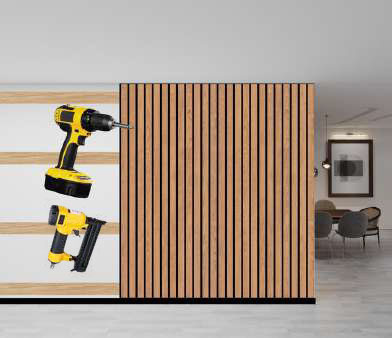
Required Tools & Equipment


Required Tools & Equipment